
The goals
💪🏻Planning Our Database Structure / Layout
✌🏻Performing CRUD operations in code
👍🏻Outputting database data
Let's design our database
Now let's dig in!
If we write 'cls' command in mongosh, it means that we will clear everything.
Here they made database 'blog' but since I already have it from different project, I will name this time 'nodeblog' and work with this.
We practiced mongoDB last time, so let's go one step further with connecting this DB to our node project.
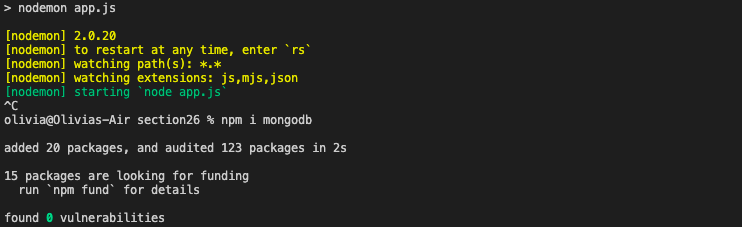
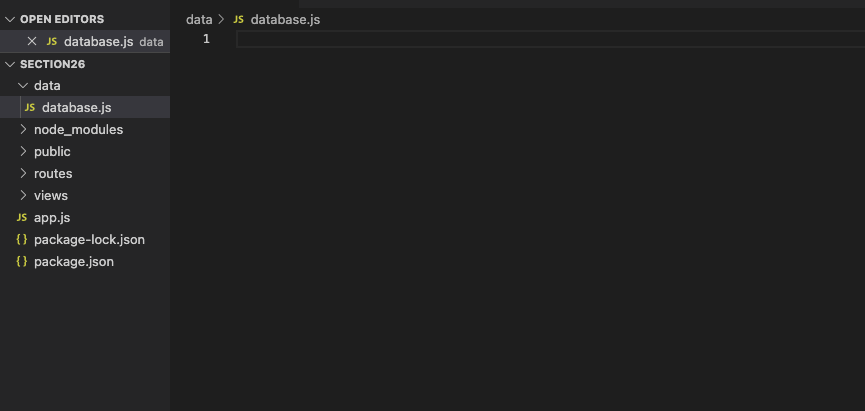
Installed mongoDB in our project and made a directory for database.
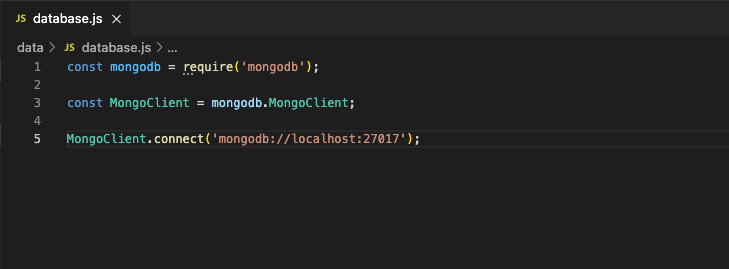
But this connecting can take some time and it will cause some errors. In this case we can use 'asynchronous code' as we learned from the other lecture!
const mongodb = require('mongodb');

const MongoClient = mongodb.MongoClient;

async function connect() {
  const client = await MongoClient.connect('mongodb://localhost:27017');
}
So we can write our code like this!
And we need to declare the database which will fetch our database for this project.
The one thing we should think about is that we can declare it outside of our function so we can use it many times.
const mongodb = require('mongodb');

const MongoClient = mongodb.MongoClient;

let database;

async function connect() {
  const client = await MongoClient.connect('mongodb://localhost:27017');
  database = client.db('nodeblog');
}

// for example
function getDb() {
  if (!database) {
    throw { message: 'Database connection not established!' };
  }
  return database;
}
And now we need to export these two functions we made, so we can use these functions in other code also.
const mongodb = require('mongodb');

const MongoClient = mongodb.MongoClient;

let database;

async function connect() {
  const client = await MongoClient.connect('mongodb://localhost:27017');
  database = client.db('nodeblog');
}

// for example
function getDb() {
  if (!database) {
    throw { message: 'Database connection not established!' };
  }
  return database;
}

module.exports = {
  connectToDatabase: connect,
  getDb: getDb
}
We don't put parenthesis here cause we don't execute them now.
We just export these two functions to use in other codes.
So we put some name as keys that we want to call in other codes.
This file is just utility file!
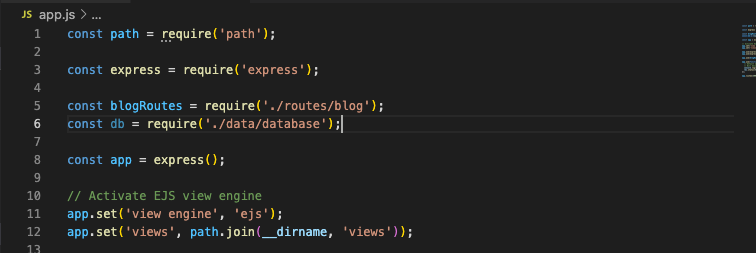
And import the file here to use our 'db'.
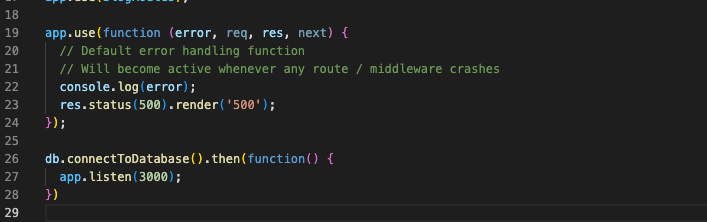
So if we successfully connect to our database then we will use this function and work with server.
That is the reason why we put 'app.listen' in the function.
Fill drop-down menu with data from database
Since we connect to database above, now it's time to fetch the data from the database!
Then we need to fix router.
Go to 'blog.js' file which stores all the routes for this website.
const db = require('../data/database');And of course we need to put this line to use db.

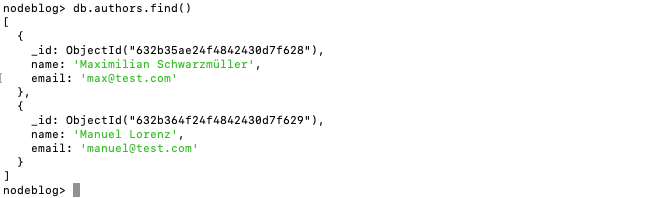
So when '/new-post' is activated, we should fetch the author data from our database.
Before we used 'db.authors.find()' to fetch the data but in node.js it works differently.
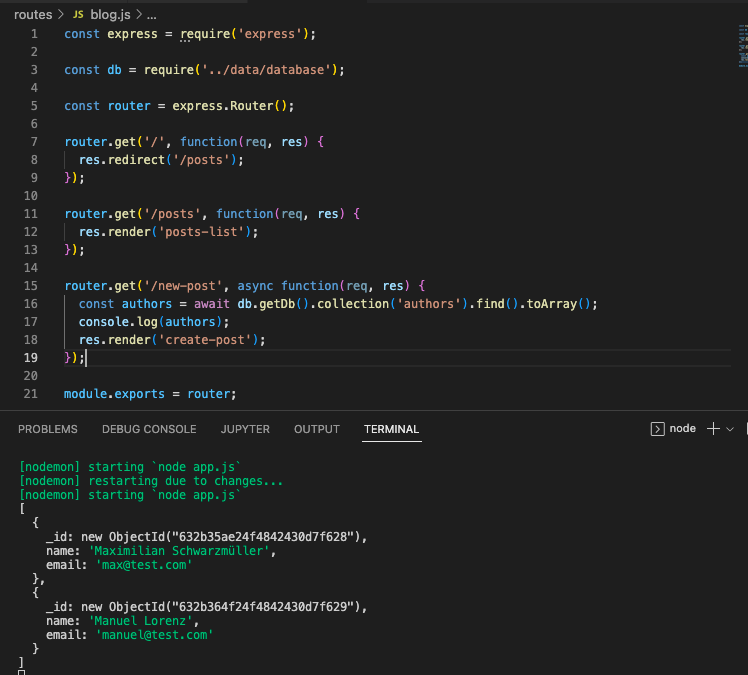
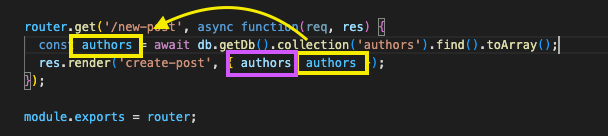
As we've seen many times, we will render 'create-post' file and we will use variable 'authors' there as name of 'authors'.
So far, we has brought the author data from database, now we will use that data on our drop-down!
Let's go to the html file which draws 'new-post'.
  <div class="form-control">
        <label for="author">Select Author</label>
        <select id="author" name="author">
          <% for (const author of authors) { %>
          <option value="<%= author._id %>"><%= author.name %></option>
          <% } %>
        </select>
  </div>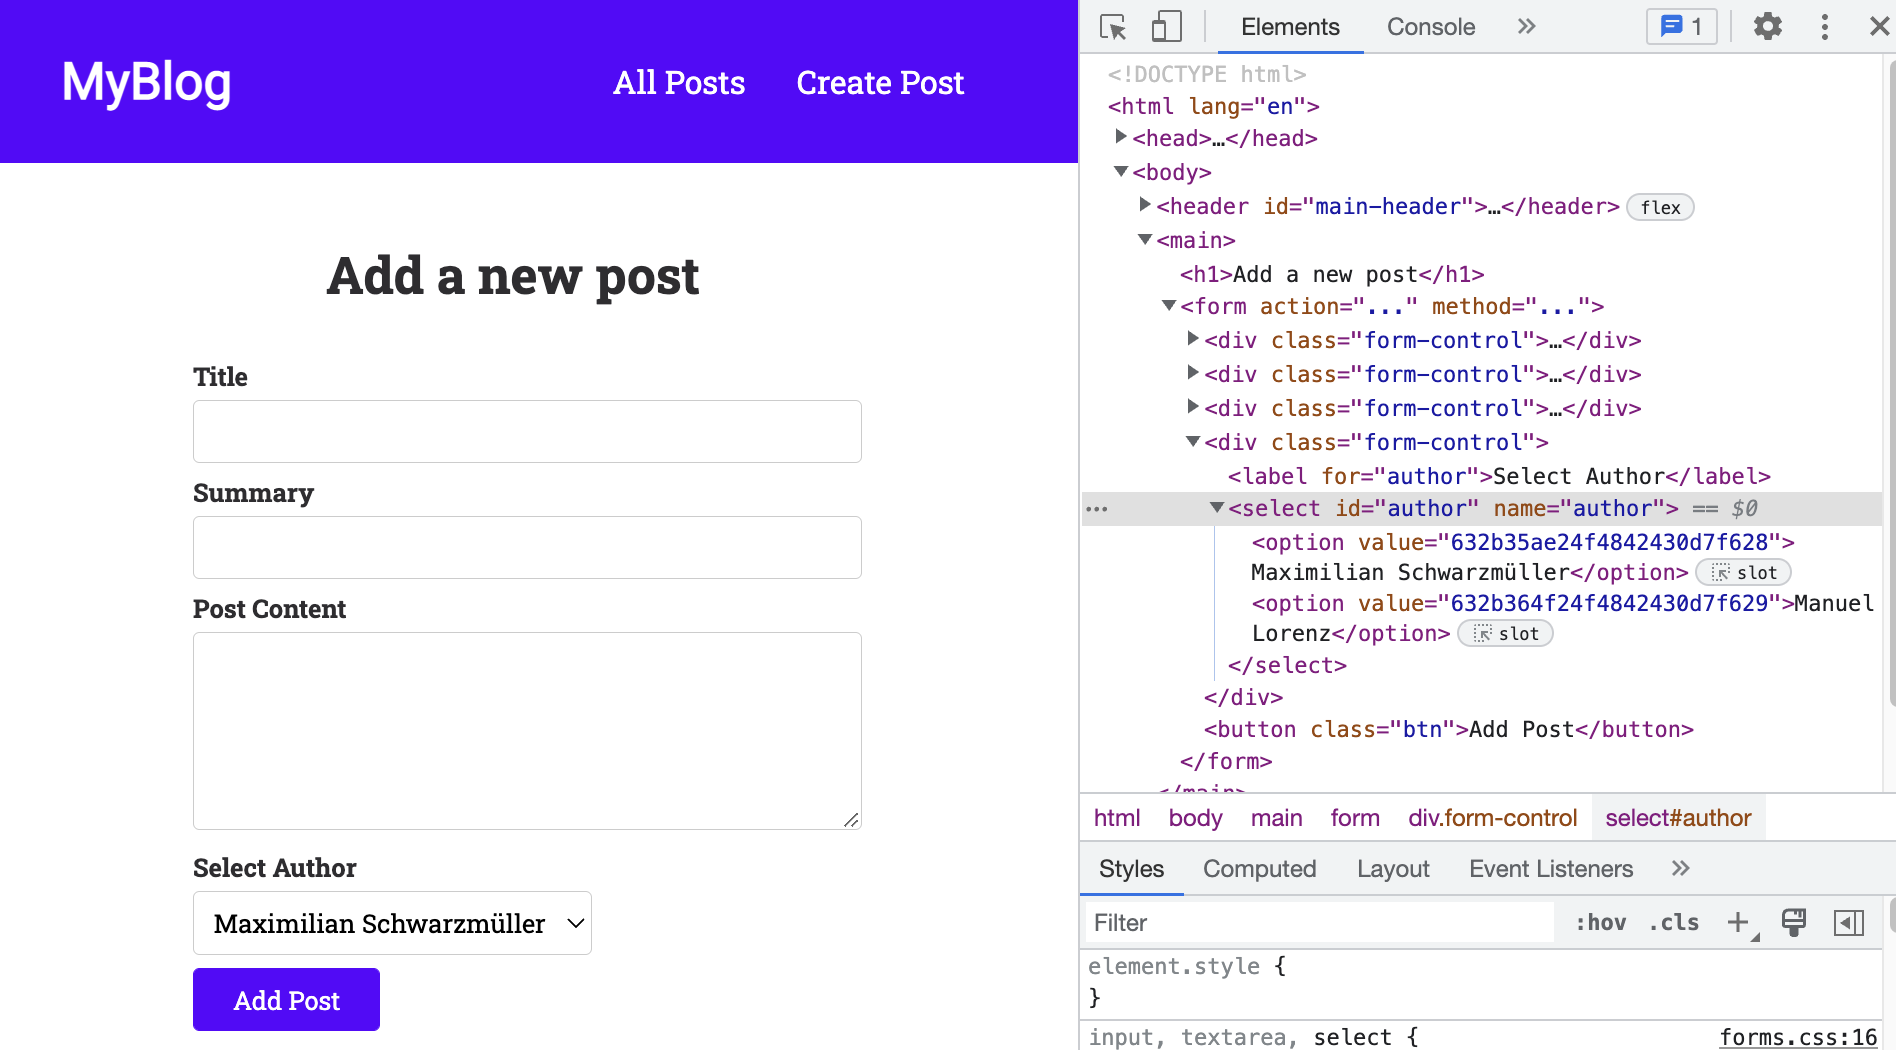
great!
Insert our new post to database!
In the utility file 'blog.js', I made a route to bring our data to database.
router.post('/posts', function(req, res) {
  const newPost = {
    title: req.body,title,
    summary: req.body.summary,
    body: req.body.content,
    date: new Date(),
    author: {
      id: new ObjectId(req.body.author)
    }
  };
})
const express = require('express');
const db = require('../data/database');
const mongodb = require('mongodb');
const ObjectId = mongodb.ObjectId;
const router = express.Router();And this is the code importing some functions to use here.
But what ObjectId is?
ObjectId(<value>)
Every document in the collection has an “_id” field that is used to uniquely identify the document in a particular collection it acts as the primary key for the documents in the collection. “_id” field can be used in any format and the default format is ObjectId of the document.
An ObjectID is a 12-byte Field Of BSON type
- The first 4 bytes representing the Unix Timestamp of the document
- The next 3 bytes are the machine Id on which the MongoDB server is running.
- The next 2 bytes are of process id
- The last Field is 3 bytes used for increment the objectid.
router.post('/posts', async function(req, res) {
  const authorId = new ObjectId(req.body.author);
  const author = await db.getDb().collection('authors').findOne({ _id: authorId })

  const newPost = {
    title: req.body.title,
    summary: req.body.summary,
    body: req.body.content,
    date: new Date(),
    author: {
      id: authorId,
      name: author.name,
      email: author.email
    }
  };

  const result = await db.getDb().collection('posts').insertOne(newPost);
  console.log(result);
  res.redirect('/posts');
})
So firstly, we bring the id from ObjectId method and store it as authorId variable.
And we will get the author from db when it has the id which is equal to 'authorId' .
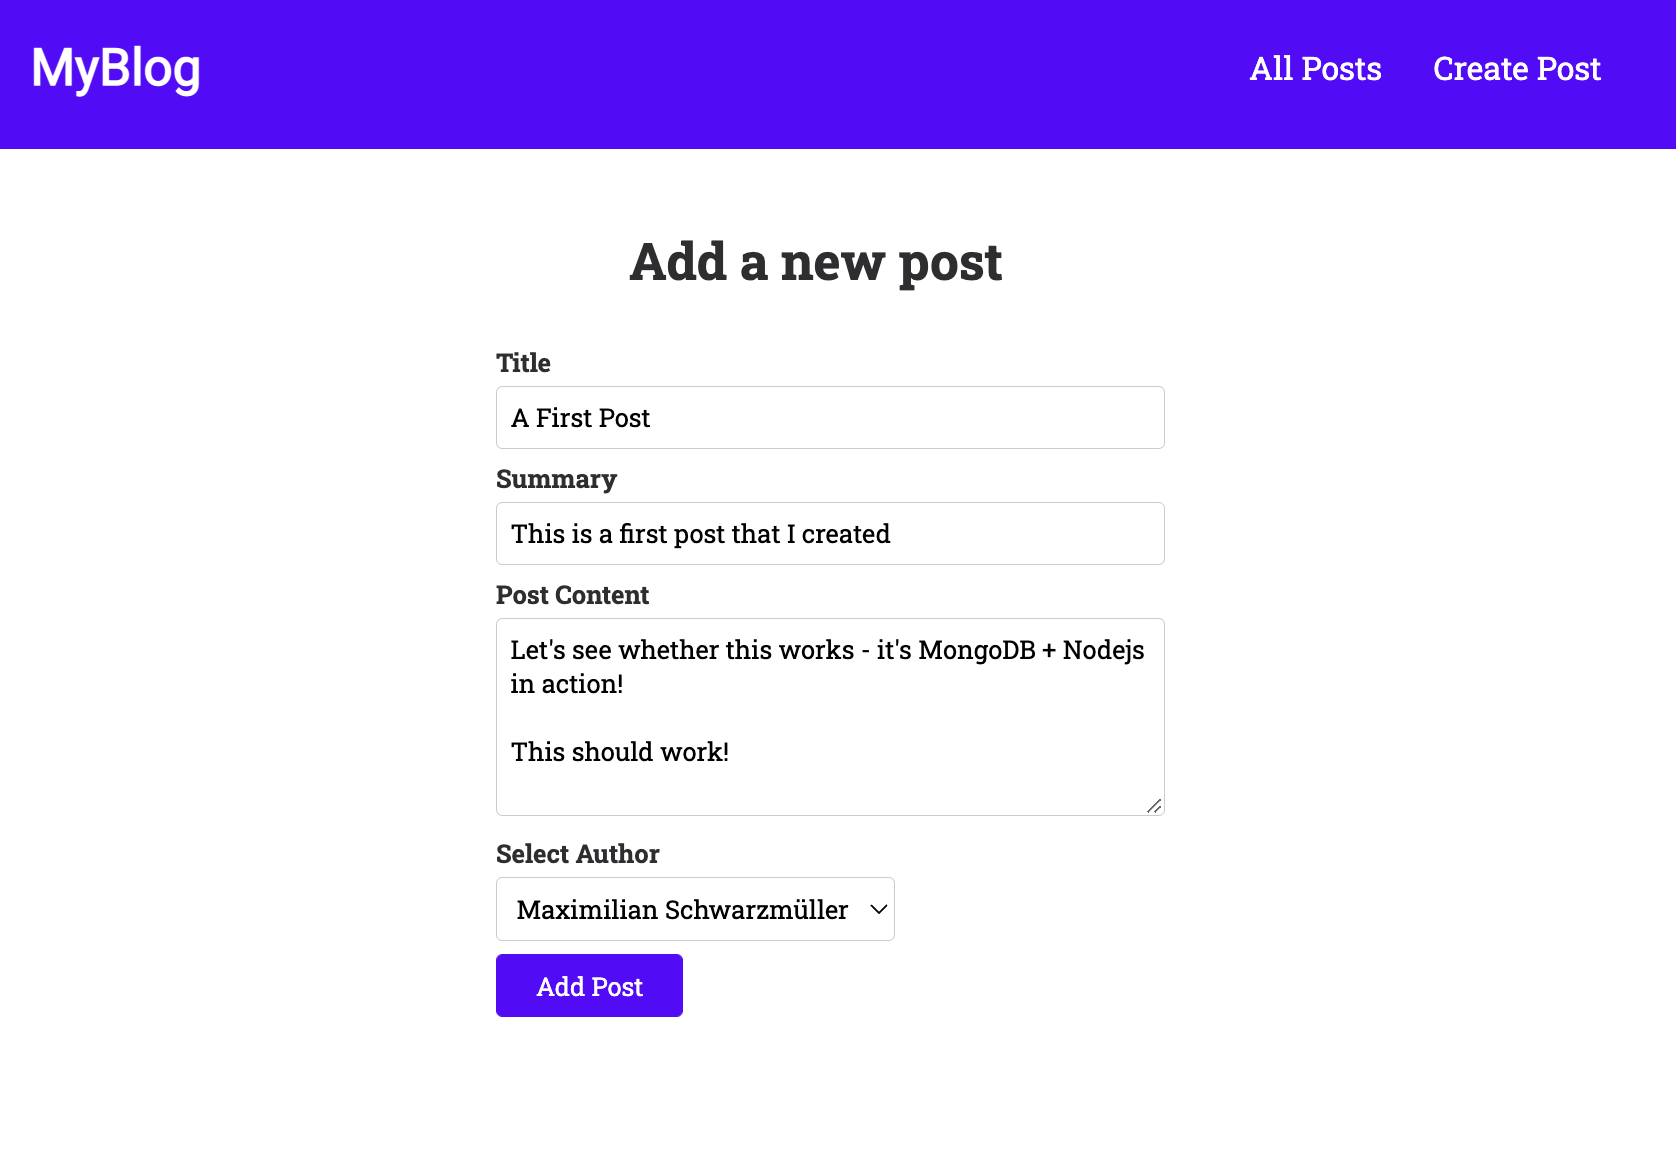
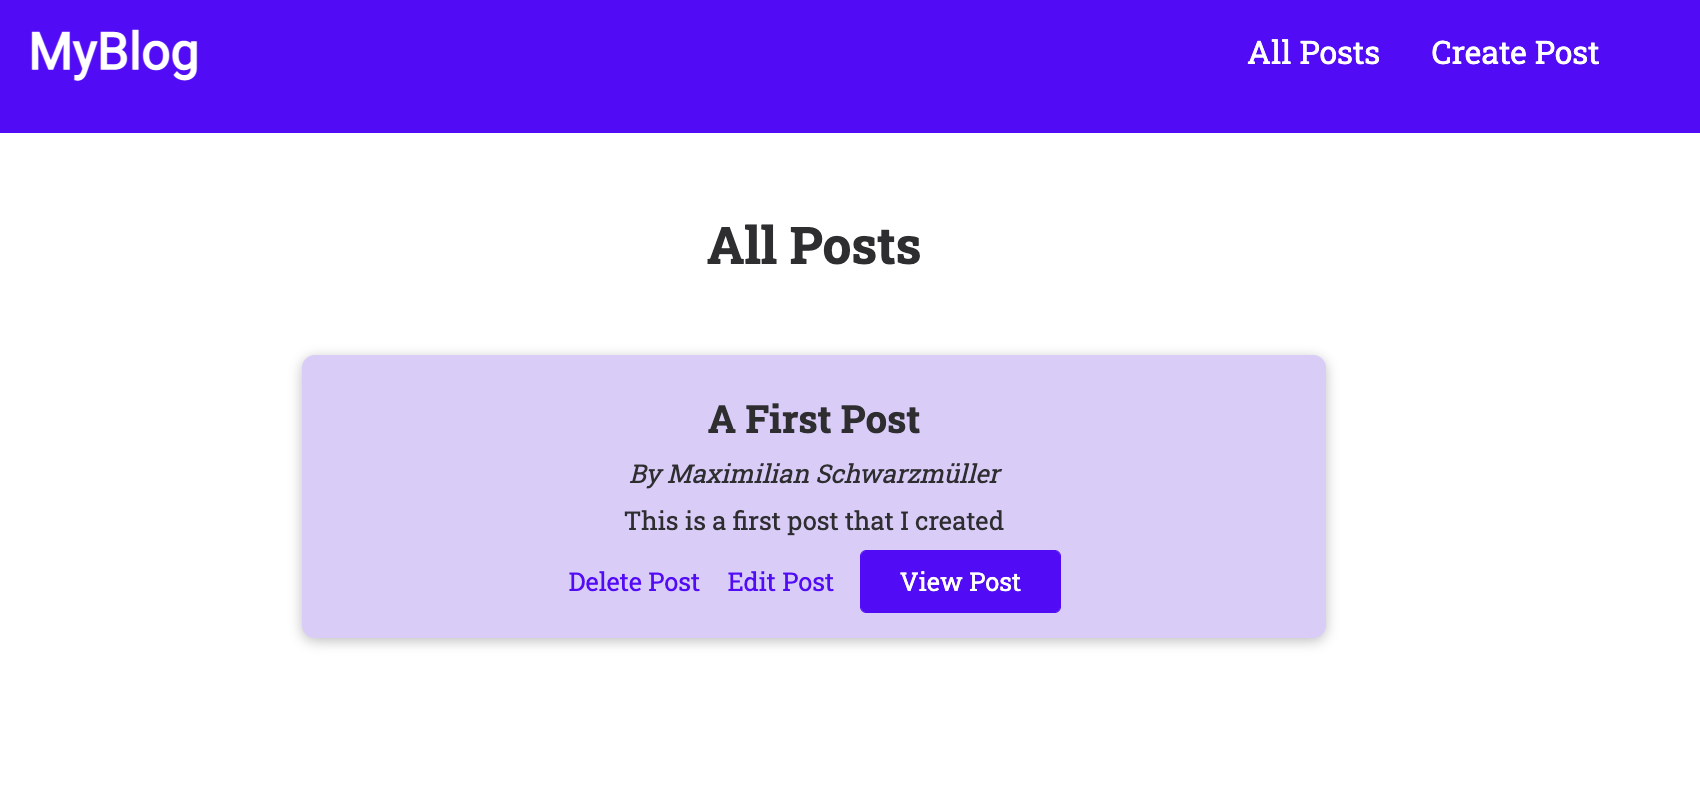
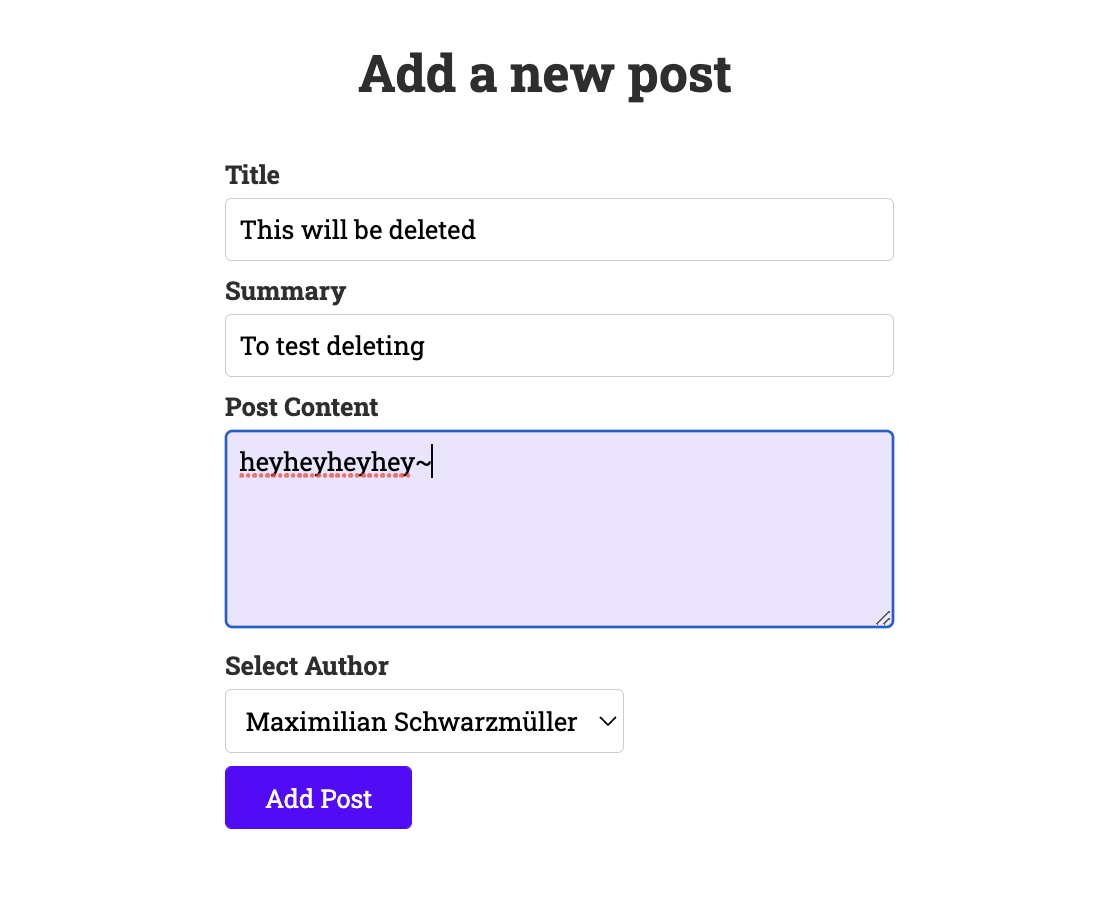
So now fill this information in each field and let's go 'Add Post'!

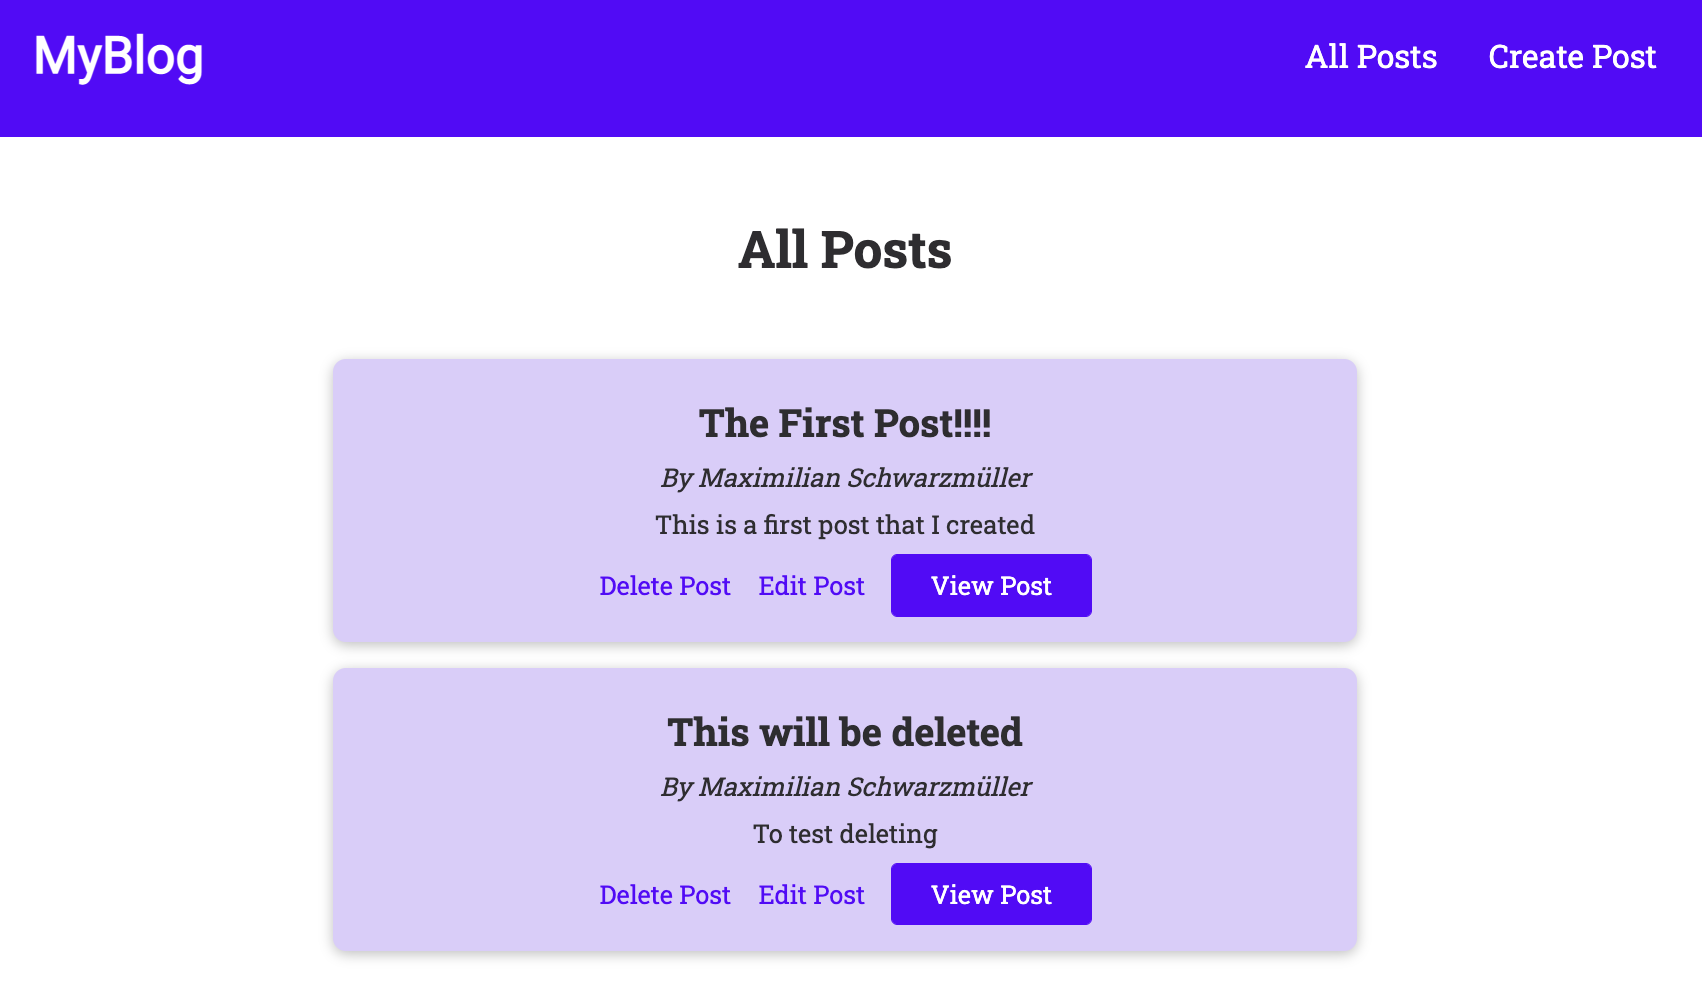
Then we get this screen which should have the list of our posts, but not have right now since we haven't updated html file to bring some posts from database.
Let's go check our database if it has our data correctly.
This time I will go to my MongoDB Compass to check, not Mongo shell.

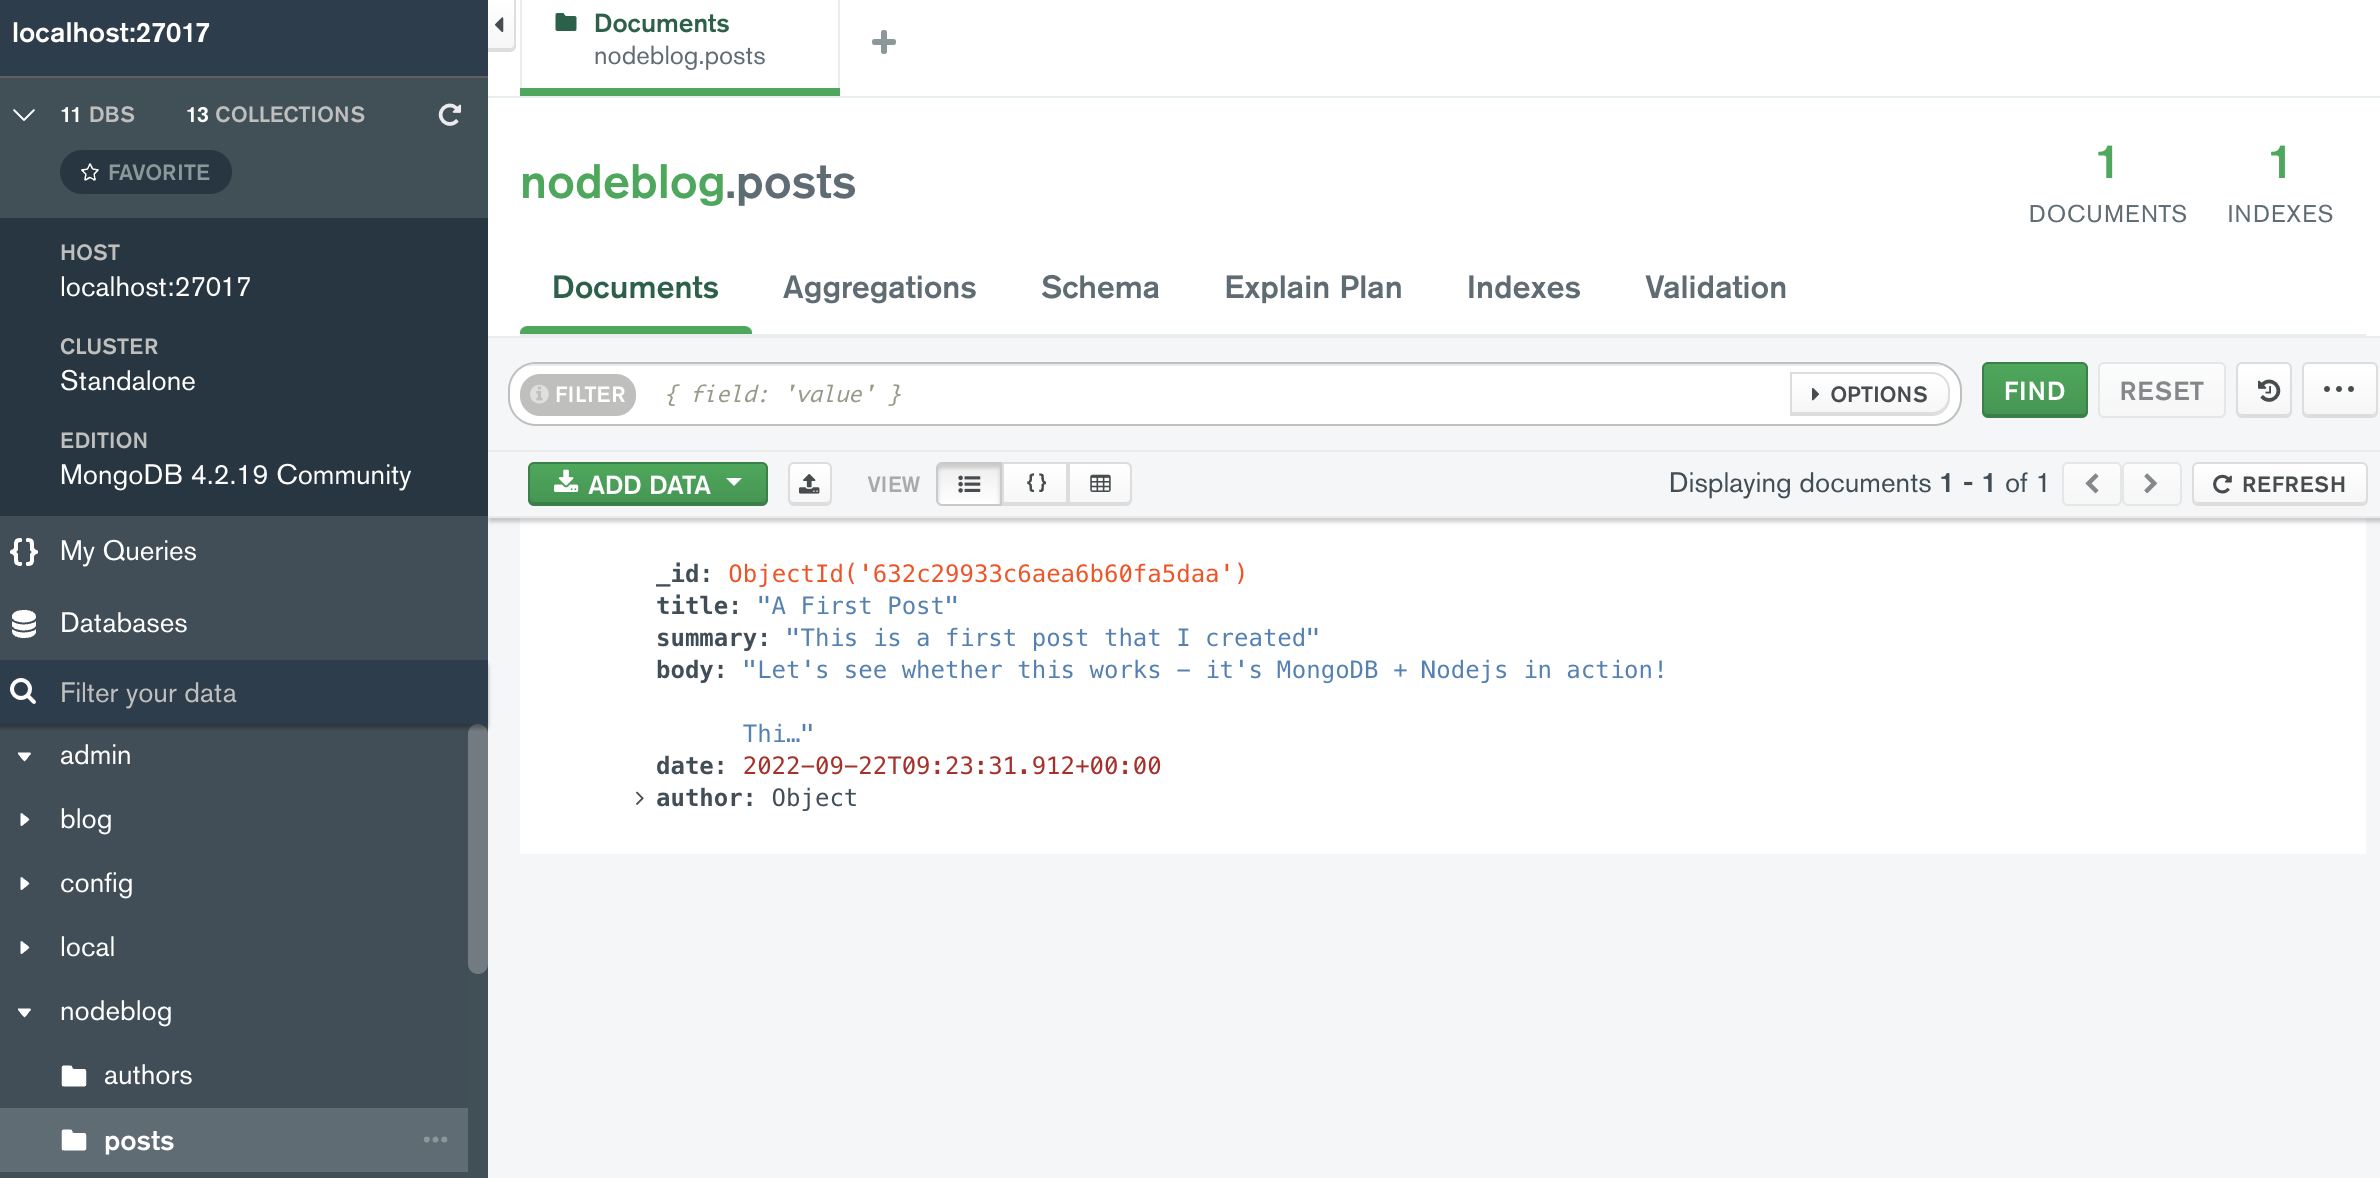
Mmm great:)
Now let's bring the data to show on our list.
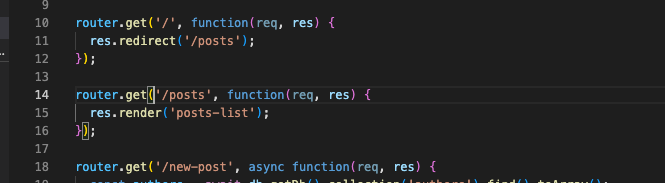
We will fix this 'get' route to specify how it should bring data from our database.
router.get('/posts', async function(req, res) {
  const posts = await db.getDb().collection('posts').find().toArray();
  res.render('posts-list');
});
But here I wanna bring the all data but only some fields.
router.get('/posts', async function (req, res) {
  const posts = await db.getDb().collection('posts').find({}, {
    title: 1,
    summary: 1,
    'author.name': 1
  }).toArray();
  res.render('posts-list');
});router.get('/posts', async function (req, res) {
const posts = await db
.getDb()
.collection('posts')
.find({}, {
title: 1,
summary: 1,
'author.name': 1
}).toArray();
res.render('posts-list', { posts: posts });
});We can also fix like this to see easily.
And give the key to 'posts-list' page to use there.
<body>
<%- include('includes/header') %>
<main id="all-posts">
<h1>All Posts</h1>
<% if (!posts || posts.length === 0) { %>
<p>No posts found - maybe start creating some?</p>
<a class="btn" href="/new-post">Create a new Post</a>
<% } else { %>
<ol id="posts-list">
<% for (const post of posts) { %>
<li><%- include('includes/post-item', {post: post}) %>
</li>
<% } %>
</ol>
<% } %>
</main>
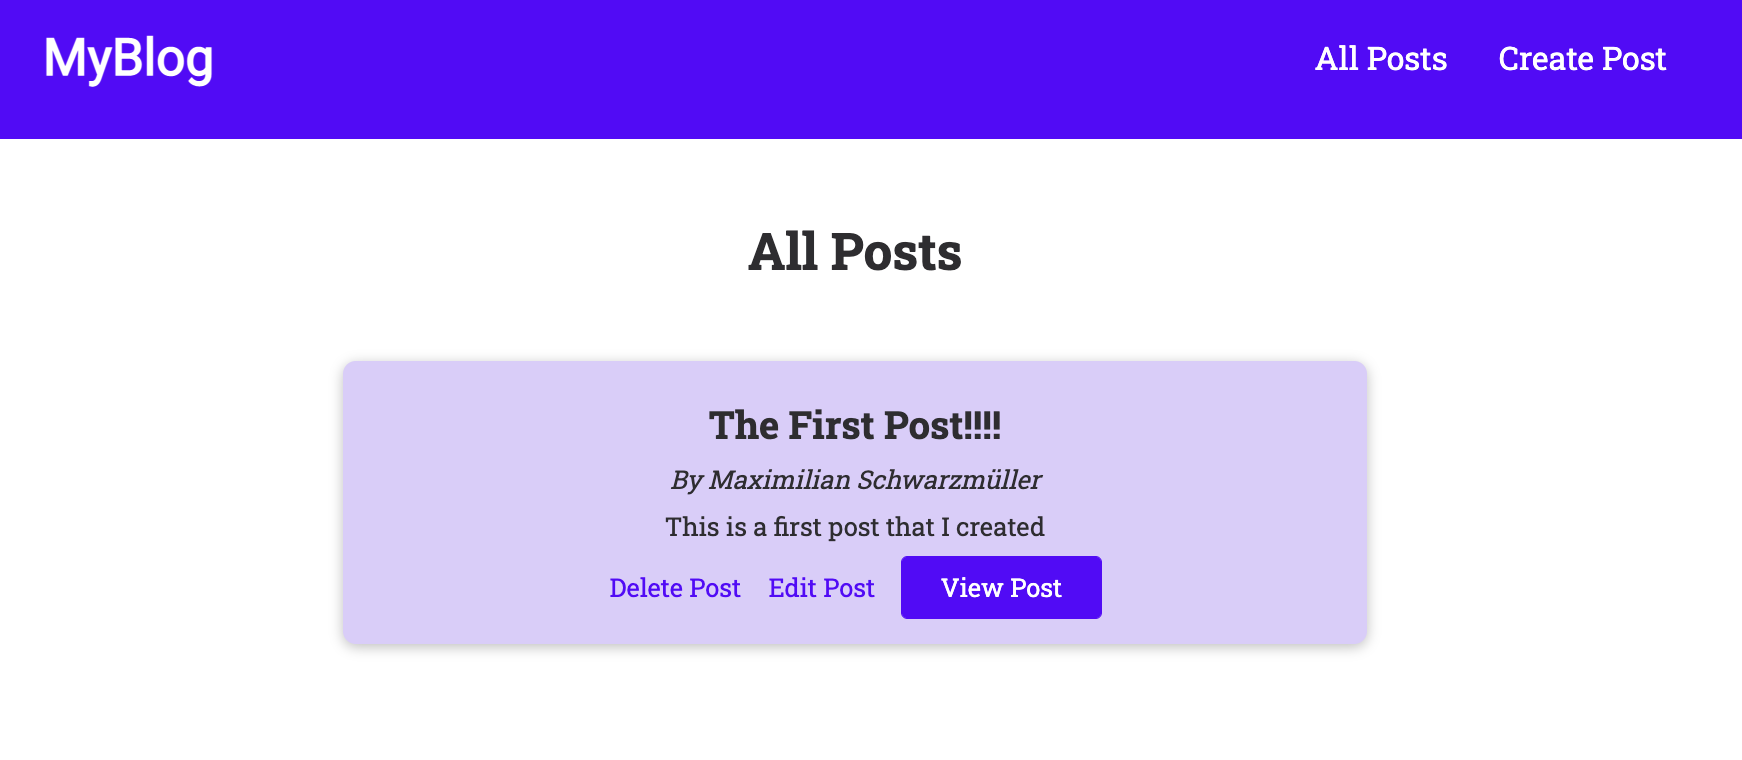
</body>Go to the posts-list page and make a condition if there's no post then how it should act.
If there post exists, then we will put ordered list and bring each post inside of the ordered list.
When we make this list we will use post-item template we made before and use post there with name 'post'.
<article class="post-item">
  <h2><%= post.title %></h2>
  <p class="post-item-author">By <%= post.author.name %></p>
  <p><%= post.summary %></p>
  <div class="post-actions">
    <button class="btn btn-alt">Delete Post</button>
    <a href="...">Edit Post</a>
    <a class="btn" href="...">View Post</a>
  </div>
</article>
And this is the post-item page, we will put each data in each part.
+α : MongoDB projection & Nodejs
이전 강의에서 데이터베이스에서 선택한 필드만 가져오기 위해 "프로젝션"을 추가했습니다. 이 작업은 다음을 통해 수행되었습니다.
- ... // 다른 코드
- .find({}, { title: 1, summary: 1, 'author.name': 1 })
이것은 몽고DB 쉘을 사용할 때 올바른 구문이지만 NodeJS 드라이버를 사용할 때는 실제로 올바르지 않습니다(정확하게는 해당 드라이버의 최신 버전으로 작업할 때).
대신 다음과 같이 별도의 project() 메서드를 사용해서 투영을 추가해야 합니다.
- ... // 다른 코드
- .find({})
- .project({ title: 1, summary: 1, 'author.name': 1 })
<article class="post-item">
  <h2><%= post.title %></h2>
  <p class="post-item-author">By <%= post.author.name %></p>
  <p><%= post.summary %></p>
  <div class="post-actions">
    <button class="btn btn-alt">Delete Post</button>
    <a href="...">Edit Post</a>
    <a class="btn" href="/posts/<%= post._id %>">View Post</a>
  </div>
</article>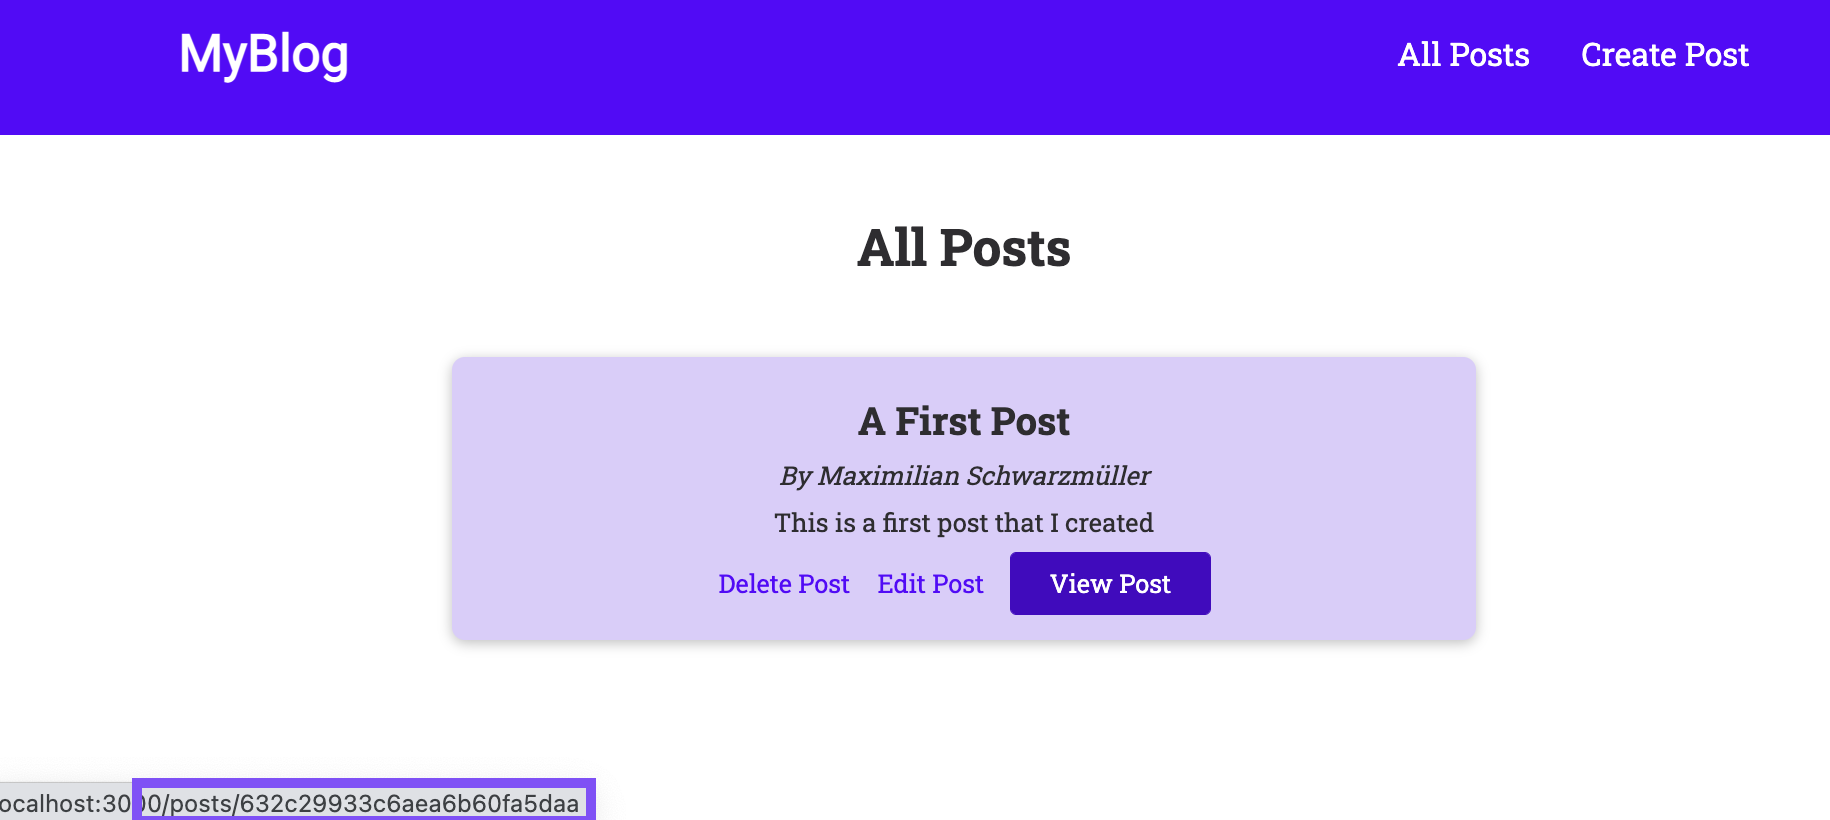
If we put our mouse cursor on 'View Post' button then we can see this detail below. And it holds the post id as we supposed.
router.get('/posts/:id', function(req, res) {
  const postId = req.params.id;
  db.getDb().collection('posts').findOne({_id: new ObjectId(postId)});
})
Now go to utility file (blog.js) to make router when we enter 'View Post' page to see details we can fetch the data from database.
And after writing this code, now we can go to html file to put data we fetch for each section.
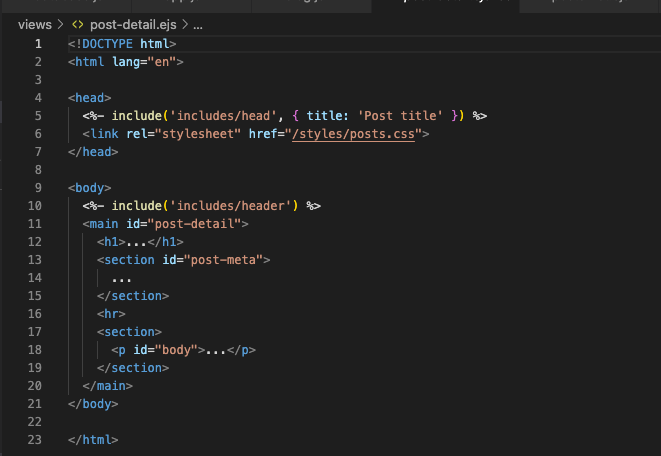
So this is post-detail page.
And let's put fetched data to each section.
But here we can see that we don't need 'post summary' for this page so when we fetch the data, let's exclude summary data.
Go back to utility route file (blog.js) and exclude 'post summary' data.
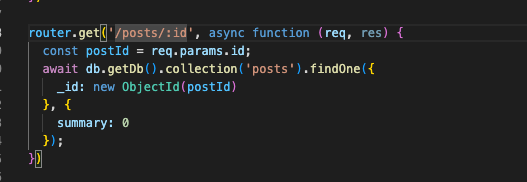
We used projection to exclude summary data.
So if we organize clearly then,
router.get('/posts/:id', async function (req, res) {
  const postId = req.params.id;
  const post = await db.getDb().collection('posts').findOne({
    _id: new ObjectId(postId)
  }, {
    summary: 0
  });

  if (!post) {
    return res.status(404).render('404');
  };

  res.render('post-detail', {post: post})
});
And go to the 'post-detail' page to show each data in each field.
<body>
  <%- include('includes/header') %>
  <main id="post-detail">
    <h1><%= post.title %></h1>
    <section id="post-meta">
      <address>
        <a href="mailto:<%= post.author.email %>"><%= post.author.name %></a>
      </address> | <time datetime="<% post.date %>"><%= post.date %></time>
    </section>
    <hr>
    <section>
      <p id="body"><%= post.body %></p>
    </section>
  </main>
</body>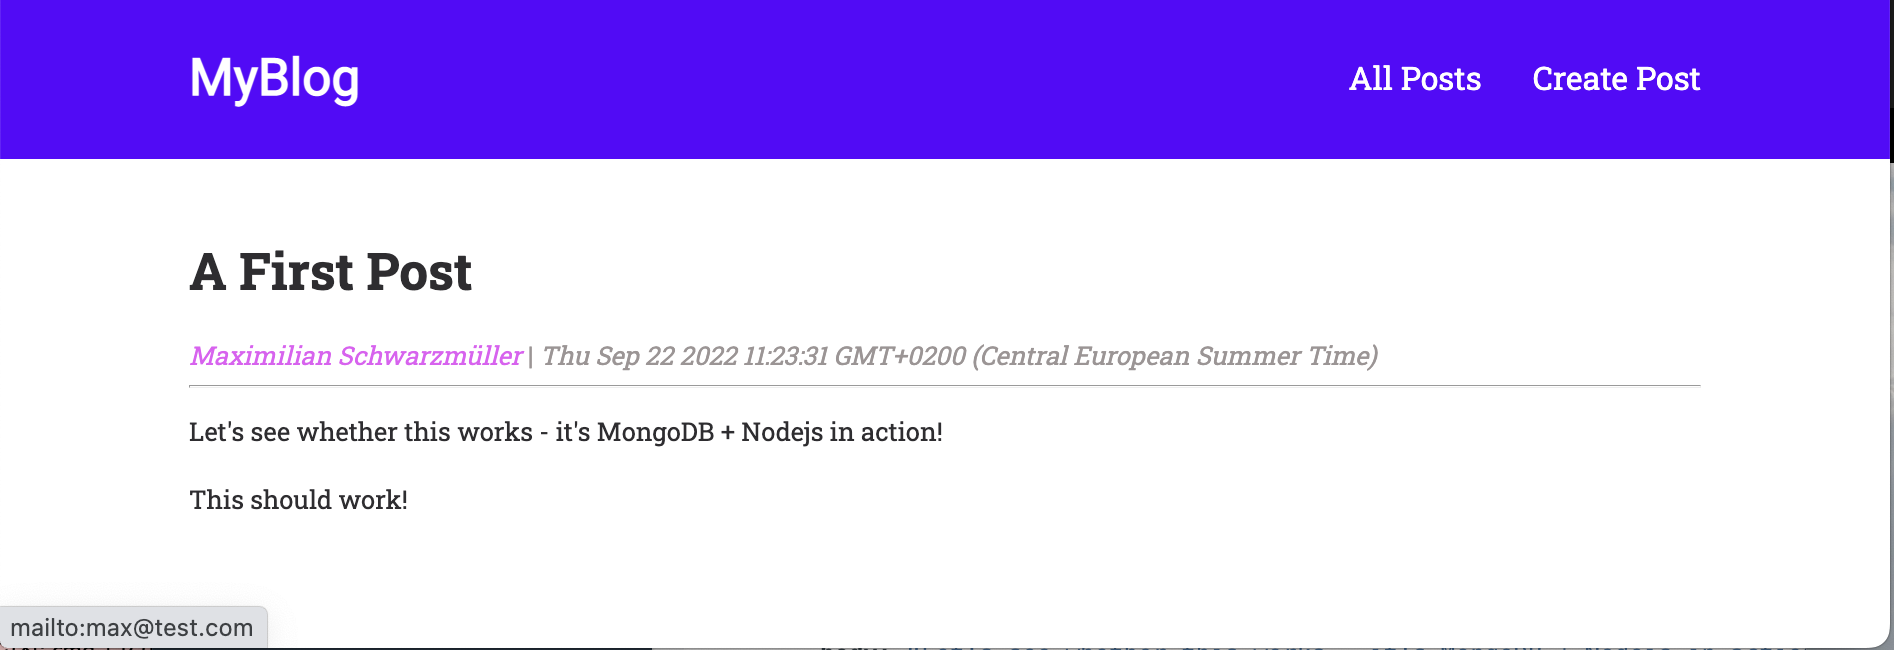
Then we can see our data like this.
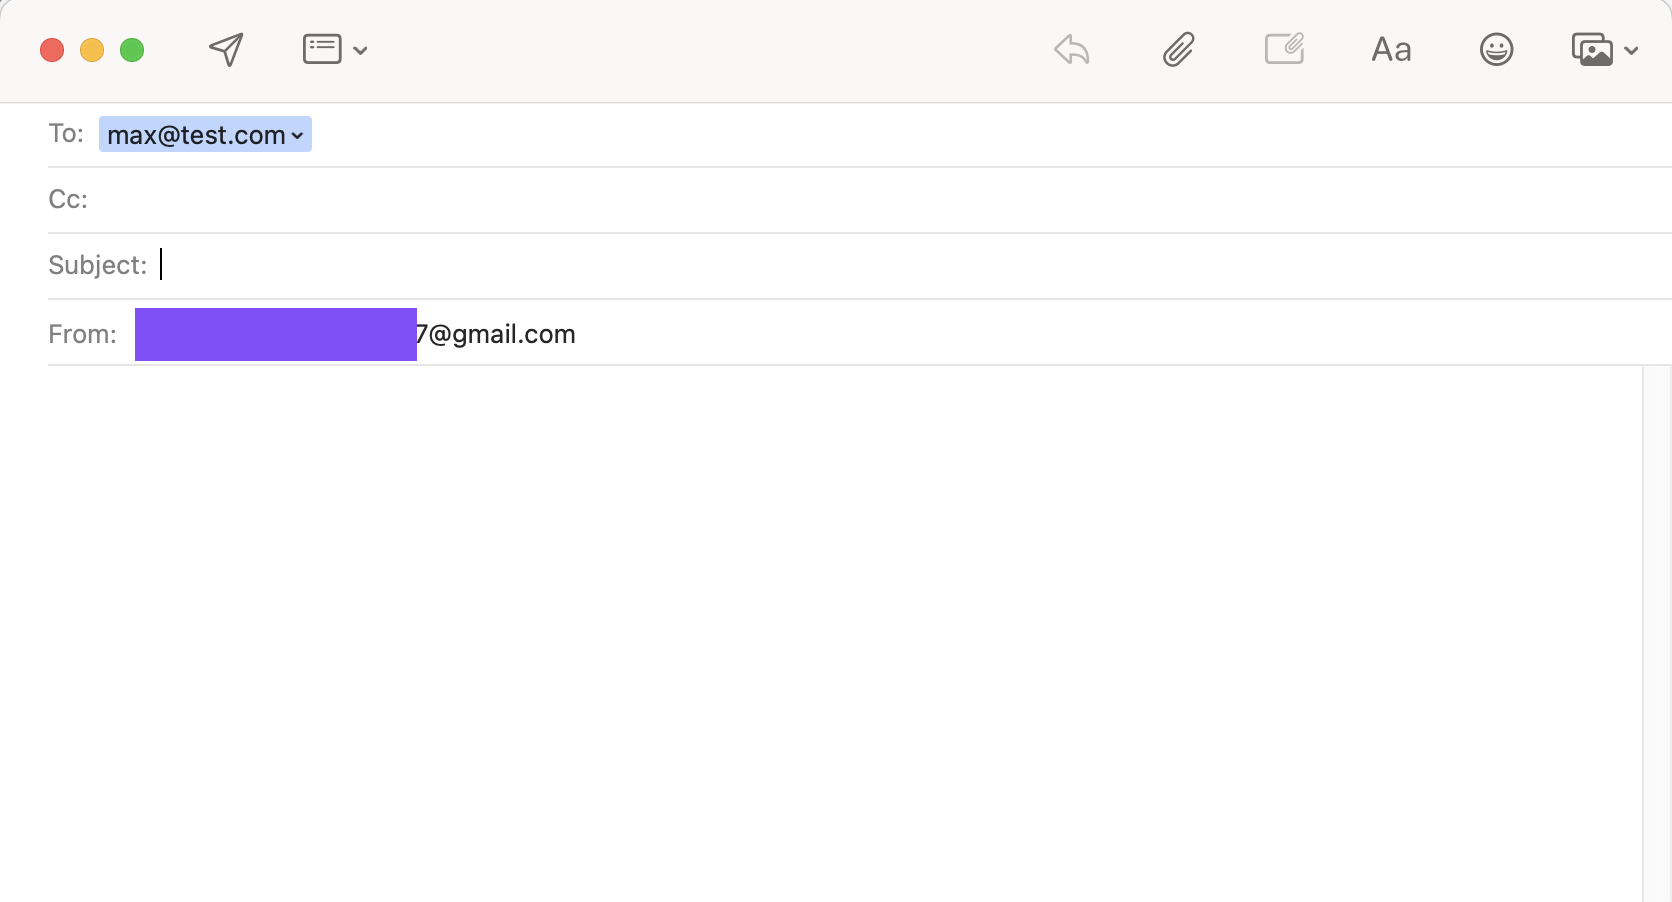
And we put our mouse on the author then it shows the link below to move to mail writing page.
like below:
But I don't like the fotmat of date so let's work on it!
First of all, go to the utility file (blog.js) and for the detail page route, put the human readable date and machin readable date.
router.get('/posts/:id', async function (req, res) {
  const postId = req.params.id;
  const post = await db.getDb().collection('posts').findOne({
    _id: new ObjectId(postId)
  }, {
    summary: 0
  });

  if (!post) {
    return res.status(404).render('404');
  };

  post.humanReadableDate = post.date.toLocaleDateString('en-US', {
    weekday: 'long',
    year: 'numeric',
    month: 'long',
    day: 'numeric'
  });
  post.date = post.date.toISOString();

  res.render('post-detail', {post: post})
});
And since we define each format date here, let's use this in detail page.
<body>
  <%- include('includes/header') %>
  <main id="post-detail">
    <h1><%= post.title %></h1>
    <section id="post-meta">
      <address>
        <a href="mailto:<%= post.author.email %>"><%= post.author.name %></a>
      </address> | <time datetime="<% post.date %>"><%= post.humanReadableDate %></time>
    </section>
    <hr>
    <section>
      <p id="body"><%= post.body %></p>
    </section>
  </main>
</body>
like this.
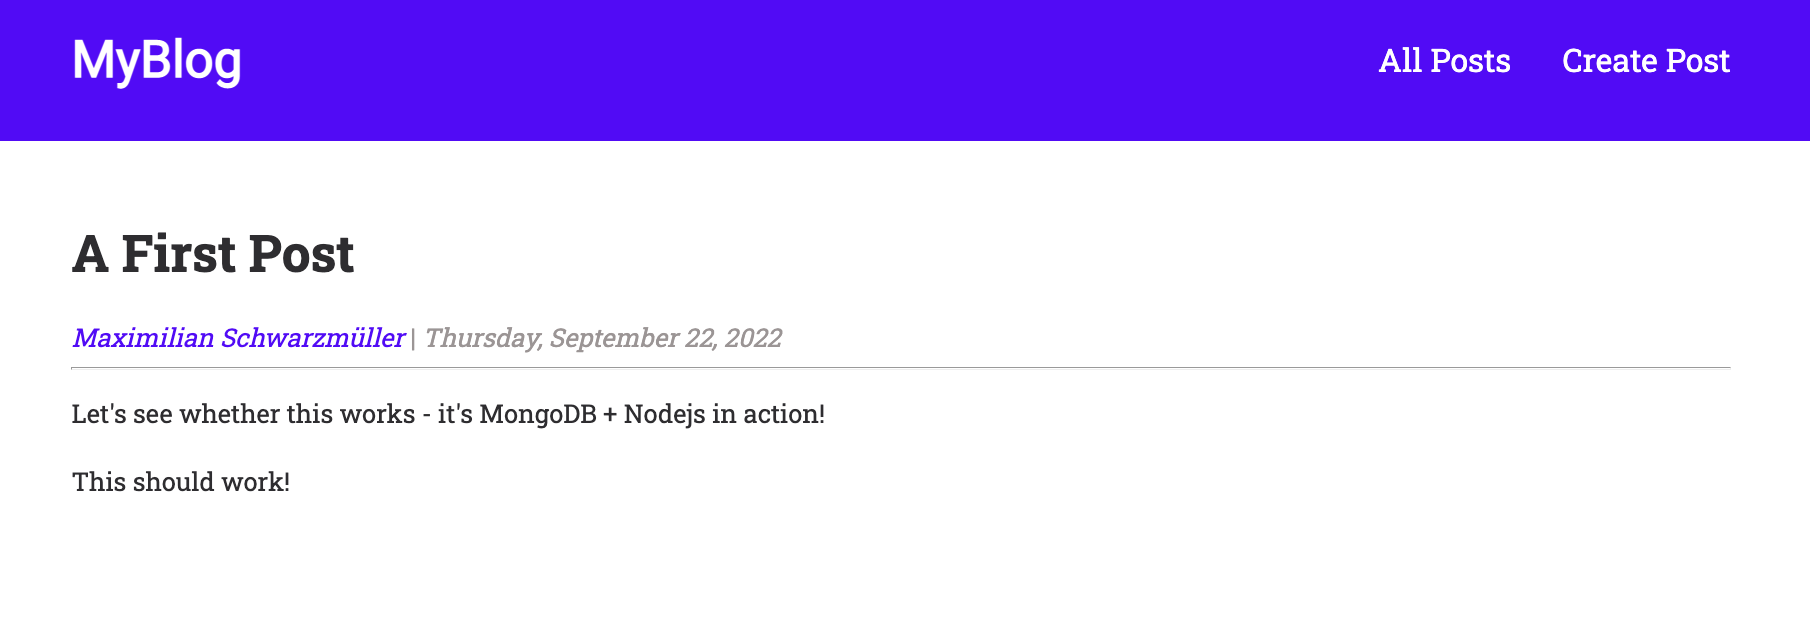
And now we will fix this code to make updata function work.
router.get('/posts/:id/edit', async function(req, res) {
  db.getDb().collection('posts').findOne({})
});
We can start like this, but since we have used this code before, we can just copy and paste it.
router.get('/posts/:id/edit', async function(req, res) {
  const postId = req.params.id;
  const post = await db.getDb().collection('posts').findOne({
    _id: new ObjectId(postId)
  }, {
    summary: 0
  });
});
And we need title, summary and body.
So we will fix it like:
router.get('/posts/:id/edit', async function(req, res) {
  const postId = req.params.id;
  const post = await db.getDb().collection('posts').findOne({
    _id: new ObjectId(postId)
  }, {
    title: 1,
    summary: 1,
    body: 1
  });

  if (!post) {
    return res.status(404).render('404');
  };
  res.render('update-post', { post: post });
});
In update case, we need to work two times. First, we need to get the original data to show.
And then, we need to post edited data on our database.
So we make post router and turn id into an object id by passing id to the new object ID constructor function here.
router.post('/posts/:id/edit', async function(req, res) {
  const postId = new ObjectId(req.params.id);
  db.getDb.collection('posts').updateOne();
});router.post('/posts/:id/edit', async function (req, res) {
const postId = new ObjectId(req.params.id);
const result = await db
.getDb()
.collection('posts')
.updateOne(
{ _id: postId },
{
$set: {
title: req.body.title,
summary: req.body.summary,
body: req.body.content,
// date: new Date()
},
}
);
res.redirect('/posts');
});We can post new data like this.
Why 'date' has been annotated? cause it totally depends on preferences.
If we want to change the date to the date of modified post then we can set date also, otherwise just don't touch it.
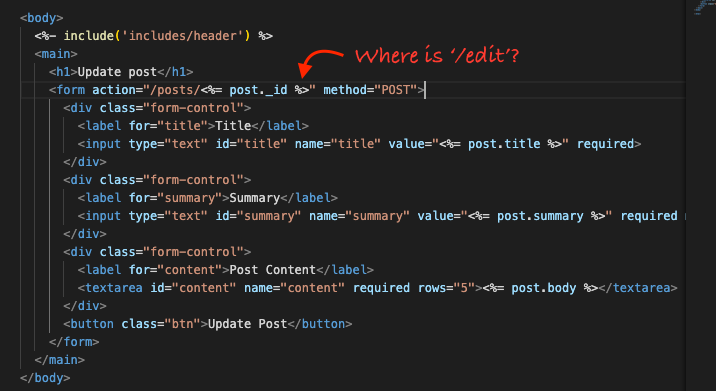
But after writing this code I got some error.
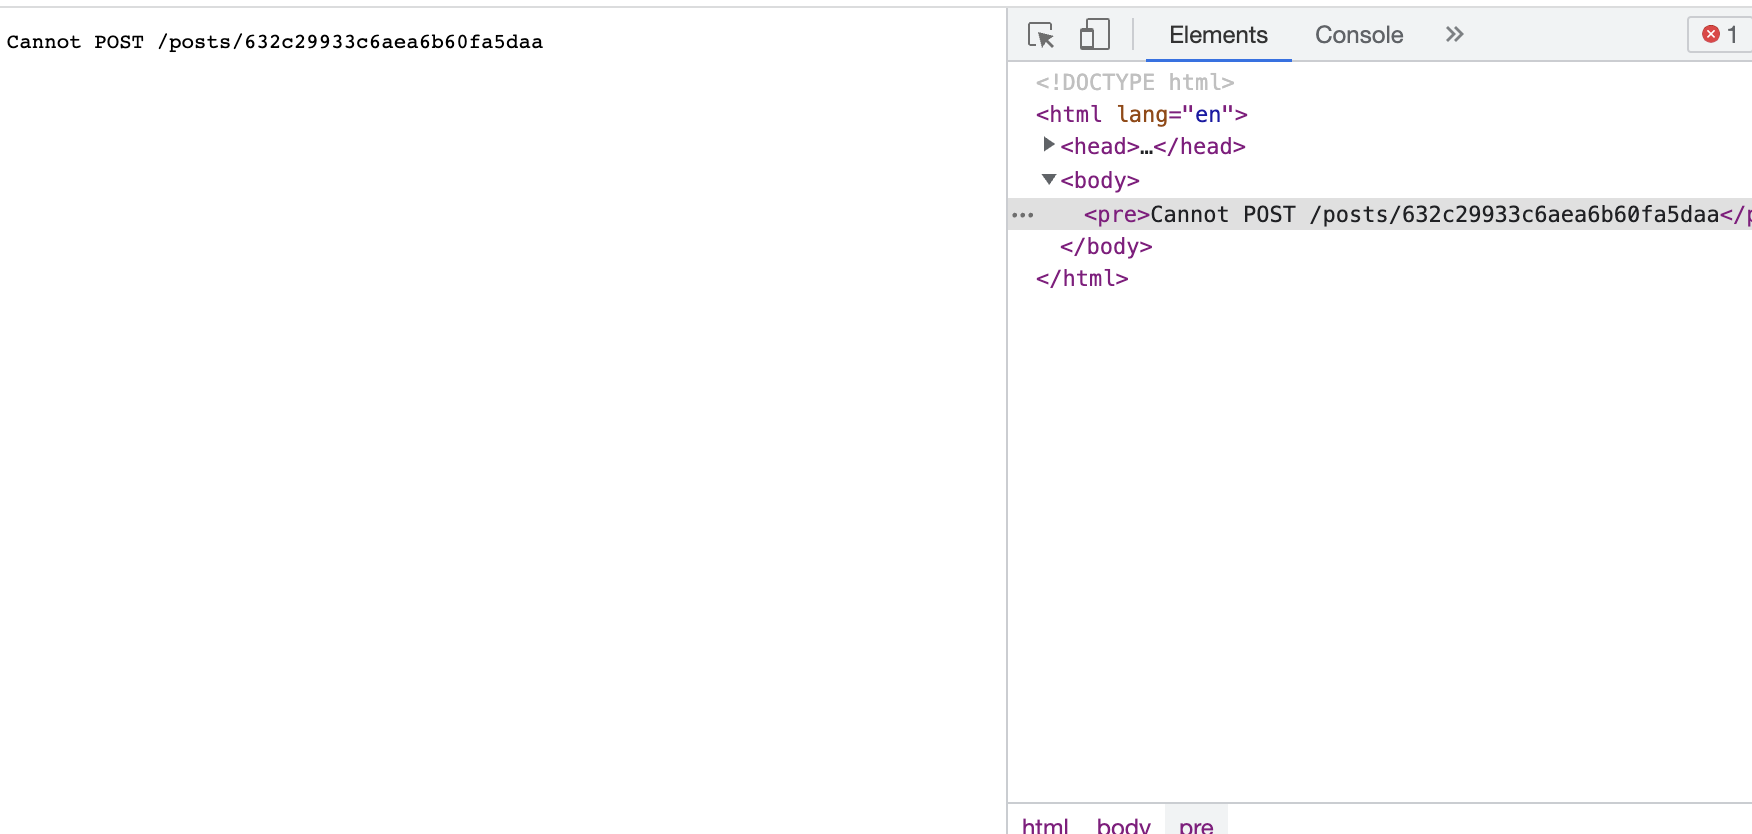
So I checked what I did wrong....and it was because of this,
And I successfully updated

Now let's delete
deleting is easier than updating
router.post('/post/:id/delete', async function (req, res) {
  const postId = new ObjectId(req.params.id);
  const result = await db.getDb().collection('posts').deleteOne({_id: postId});
  res.redirect('/posts');
})
Let's try
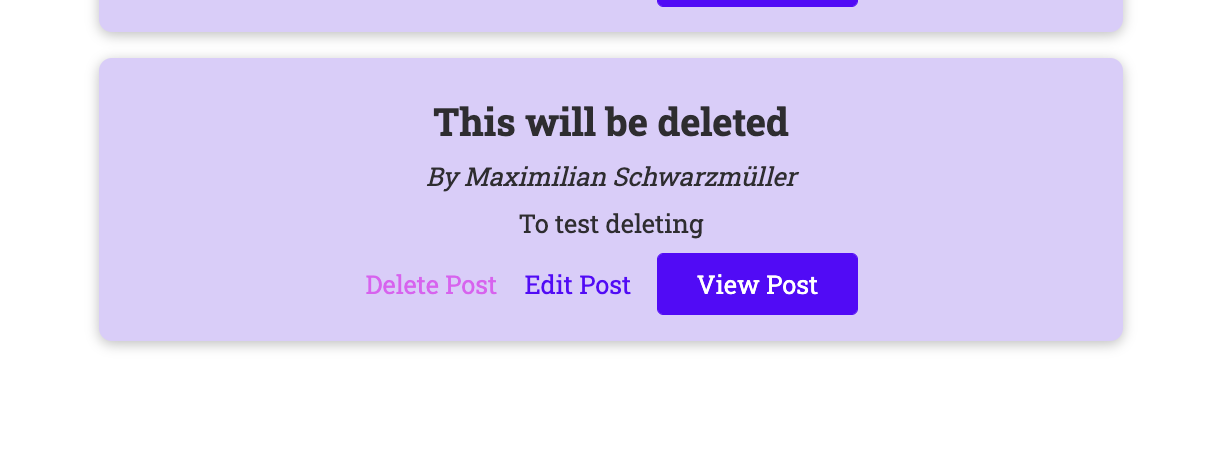
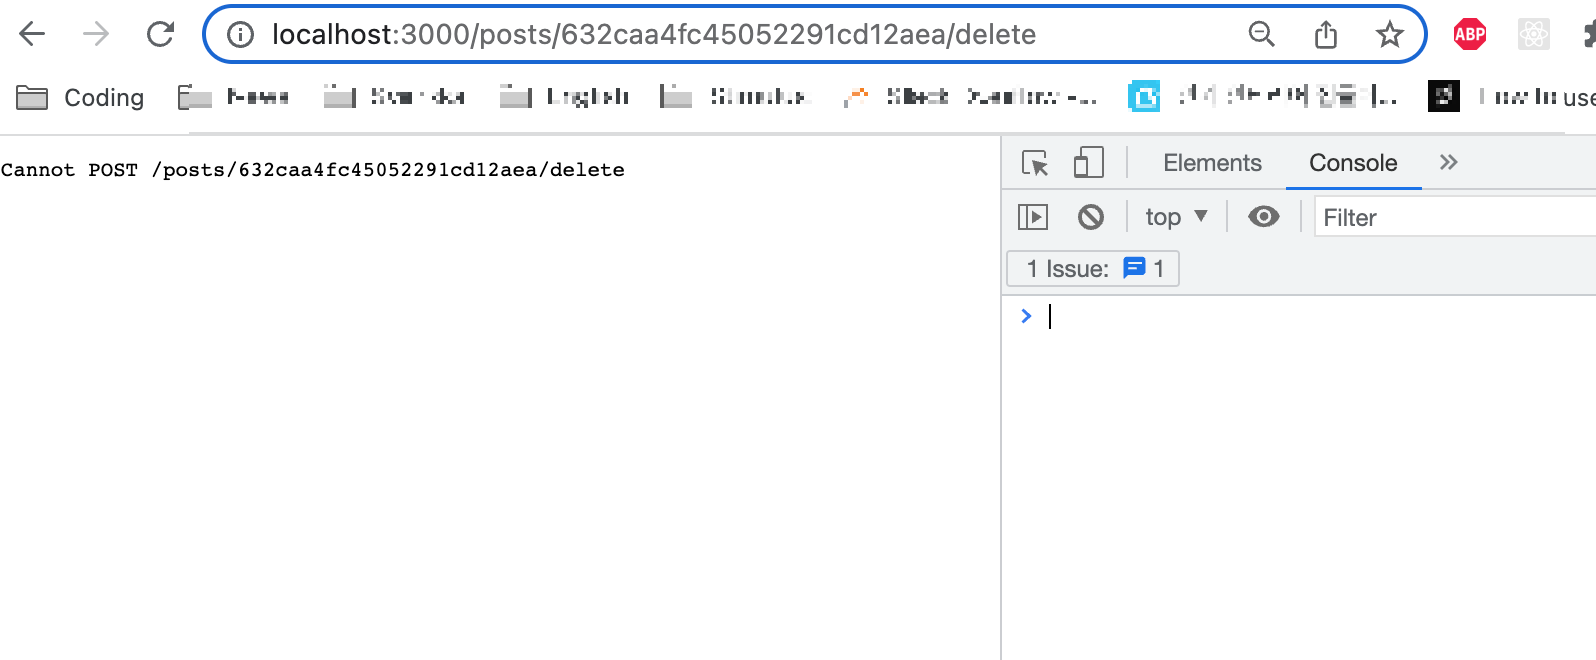
Noooo!! not againnnn!!

I found out it.
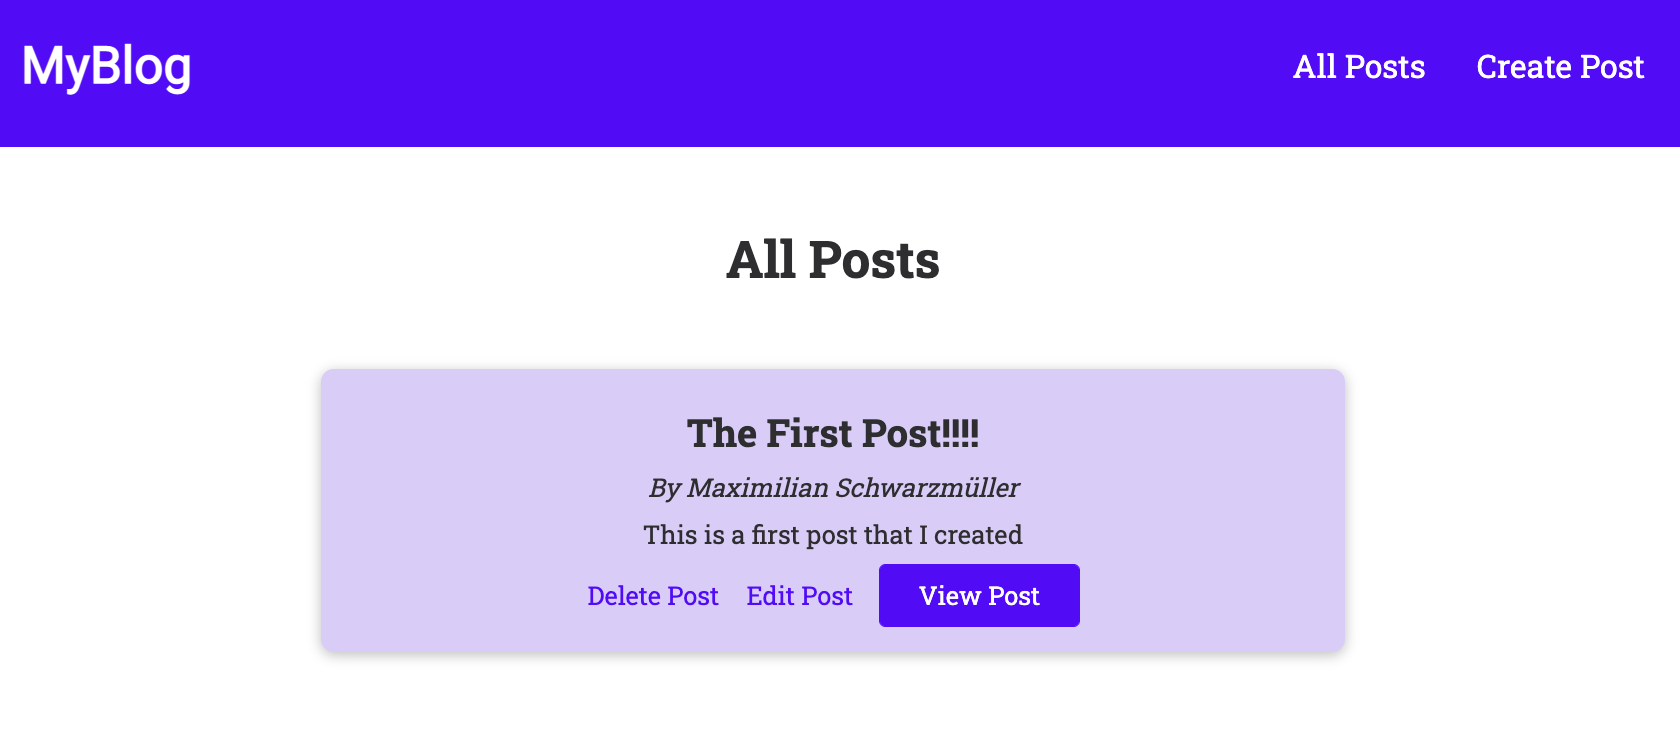
Yayyy
Now let's fix small details
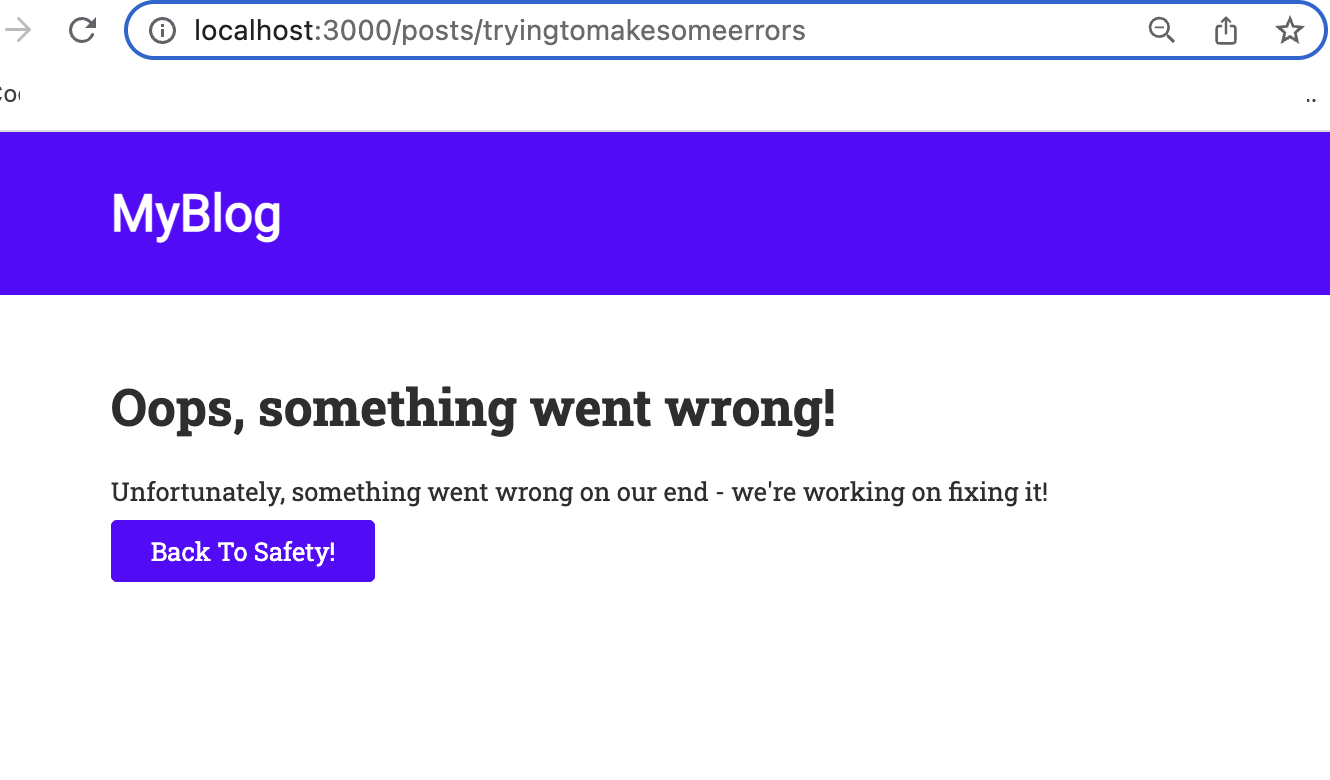
If we try to input some arbitrary post id in url then it will show error screen, but it doesn't show the error page we set.
We made 404 and 500 error pages but it doesn't show these error pages.
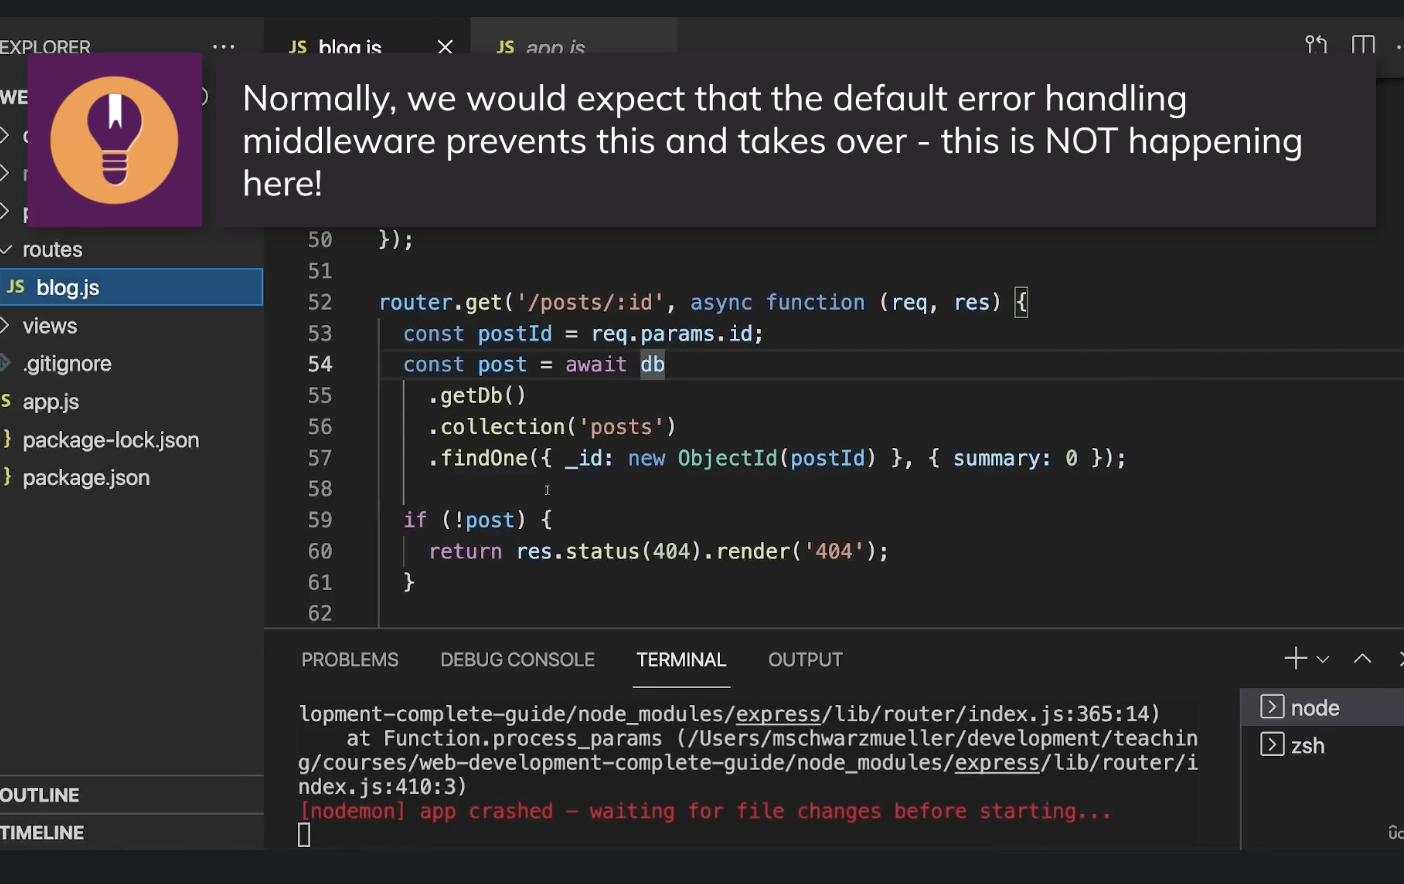
We will want to try just simple return to deal with errors but it's not gonna work...
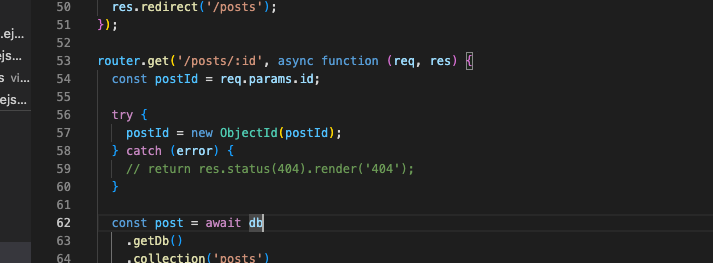
In this case, we can use 'next'.
Next is a function that acn be executed and we can execute it to move the request on to the next middleware in line.
 try {
    postId = new ObjectId(postId);
  } catch (error) {
    // return res.status(404).render('404');
    return next(error);
  }
Sources
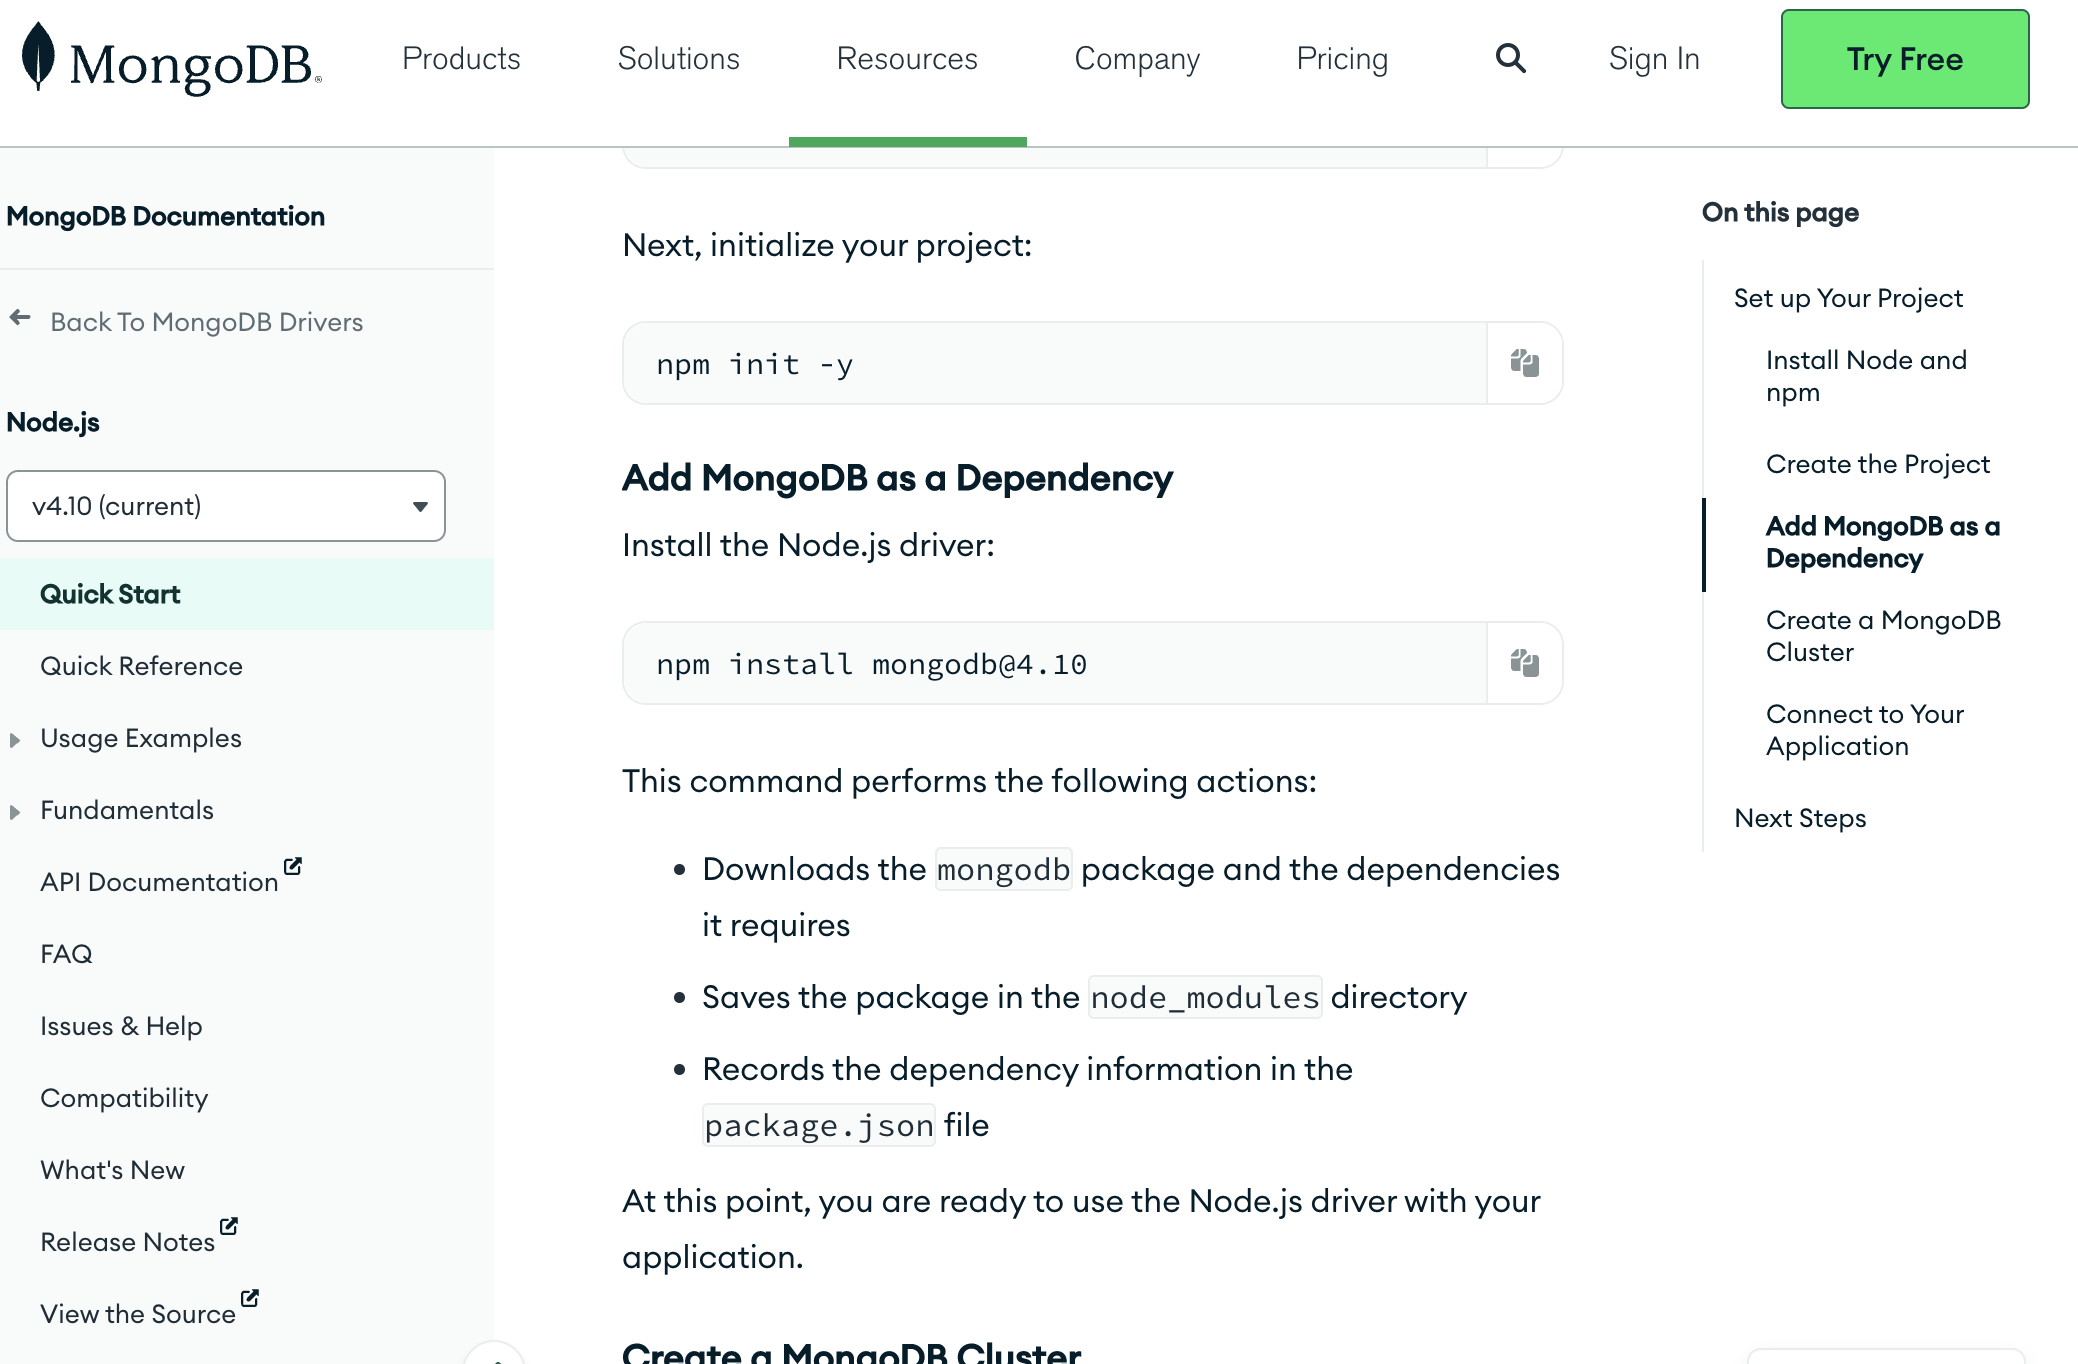
https://www.mongodb.com/docs/drivers/node/current/quick-start/
Quick Start — Node.js
Docs Home → Node.js This guide shows you how to create an application that uses the MongoDB Node.js driver to connect to a MongoDB cluster hosted on MongoDB Atlas. If you prefer to connect to MongoDB using a different driver or programming language, see
www.mongodb.com
https://www.mongodb.com/docs/manual/reference/method/ObjectId/
ObjectId — MongoDB Manual
Docs Home → MongoDB Manual ObjectId( )Returns a new ObjectId. The 12-byte ObjectId consists of:A 4-byte timestamp, representing the ObjectId's creation, measured in seconds since the Unix epoch.A 5-byte random value generated once per process. This rando
www.mongodb.com
https://www.geeksforgeeks.org/what-is-objectid-in-mongodb/
What is ObjectId in MongoDB - GeeksforGeeks
A Computer Science portal for geeks. It contains well written, well thought and well explained computer science and programming articles, quizzes and practice/competitive programming/company interview Questions.
www.geeksforgeeks.org