Section 17: NodeJS Introduction: Getting Started With Writing Server-side Code

The goals
💪🏻What Exactly Is NodeJS & How Does It Work?
✌🏻Installing & Running NodeJS
👍🏻Writing Our First NodeJS-driven Website
What is NodeJS?
A JavaScript Runtime
A tool for executing JavaScript code (outside of the browser)
Can be installed on ANY computer and hence be used to write and execute server-side JavaScript code
Working with the "Command Line"
The "Command Line" is a text-based interface that allows you to execute commands on your machine
It's a default tool pre-installed on every operating system
macOS: Terminal
Windows: Command Prompt
Linux: Bash
Using Status Codes
Web servers communicate the status of a request & response via standardized status codes
200
Success! Request parsed successfully, a response could be generated + sent without any problems
404
Client-side error! The requested resource / URL was not found. Hence the expected response could not be generated
401
Client-side error! The requesting client (user) is not authorized to access the requested resource / URL (e.g. because not logged in)
500
Server-side error! The request was valid but something went wrong on the server, hence the expected response could not be generated
Creating Node.js Application
Step 1 - Import Required Module
We use the require directive to load the http module and store the returned HTTP instance into an http variable as follows −
const http = require("http");Step 2 - Create Server
We use the created http instance and call http.createServer() method to create a server instance and then we bind it at port 8081 using the listen method associated with the server instance. Pass it a function with parameters request and response. Write the sample implementation to always return "Hello World".
http.createServer(function (request, response) {
   // Send the HTTP header
   // HTTP Status: 200 : OK
   // Content Type: text/plain
   response.writeHead(200, {'Content-Type': 'text/plain'});

   // Send the response body as "Hello World"
   response.end('Hello World\n');
}).listen(8081);

// Console will print the message
console.log('Server running at http://127.0.0.1:8081/');
The above code is enough to create an HTTP server which listens, i.e., waits for a request over 8081 port on the local machine.
Step 3 - Testing Request & Response
Let's put step 1 and 2 together in a file called main.js and start our HTTP server as shown below −
var http = require("http");

http.createServer(function (request, response) {
   // Send the HTTP header
   // HTTP Status: 200 : OK
   // Content Type: text/plain
   response.writeHead(200, {'Content-Type': 'text/plain'});

   // Send the response body as "Hello World"
   response.end('Hello World\n');
}).listen(8081);

// Console will print the message
console.log('Server running at http://127.0.0.1:8081/');
Now execute the main.js to start the server as follows −
$ node main.jsVerify the Output. Server has started.
Server running at http://127.0.0.1:8081/
Make a Request to the Node.js Server
Open http://127.0.0.1:8081/ in any browser and observe the following result.
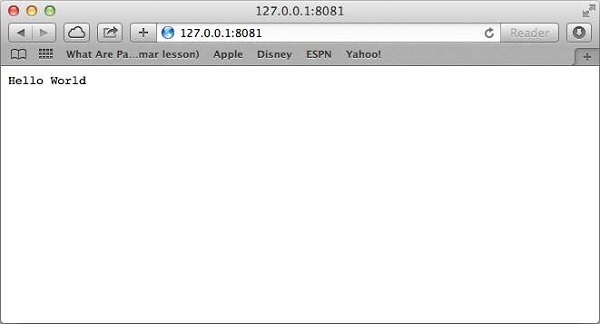
Congratulations, you have your first HTTP server up and running which is responding to all the HTTP requests at port 8081.
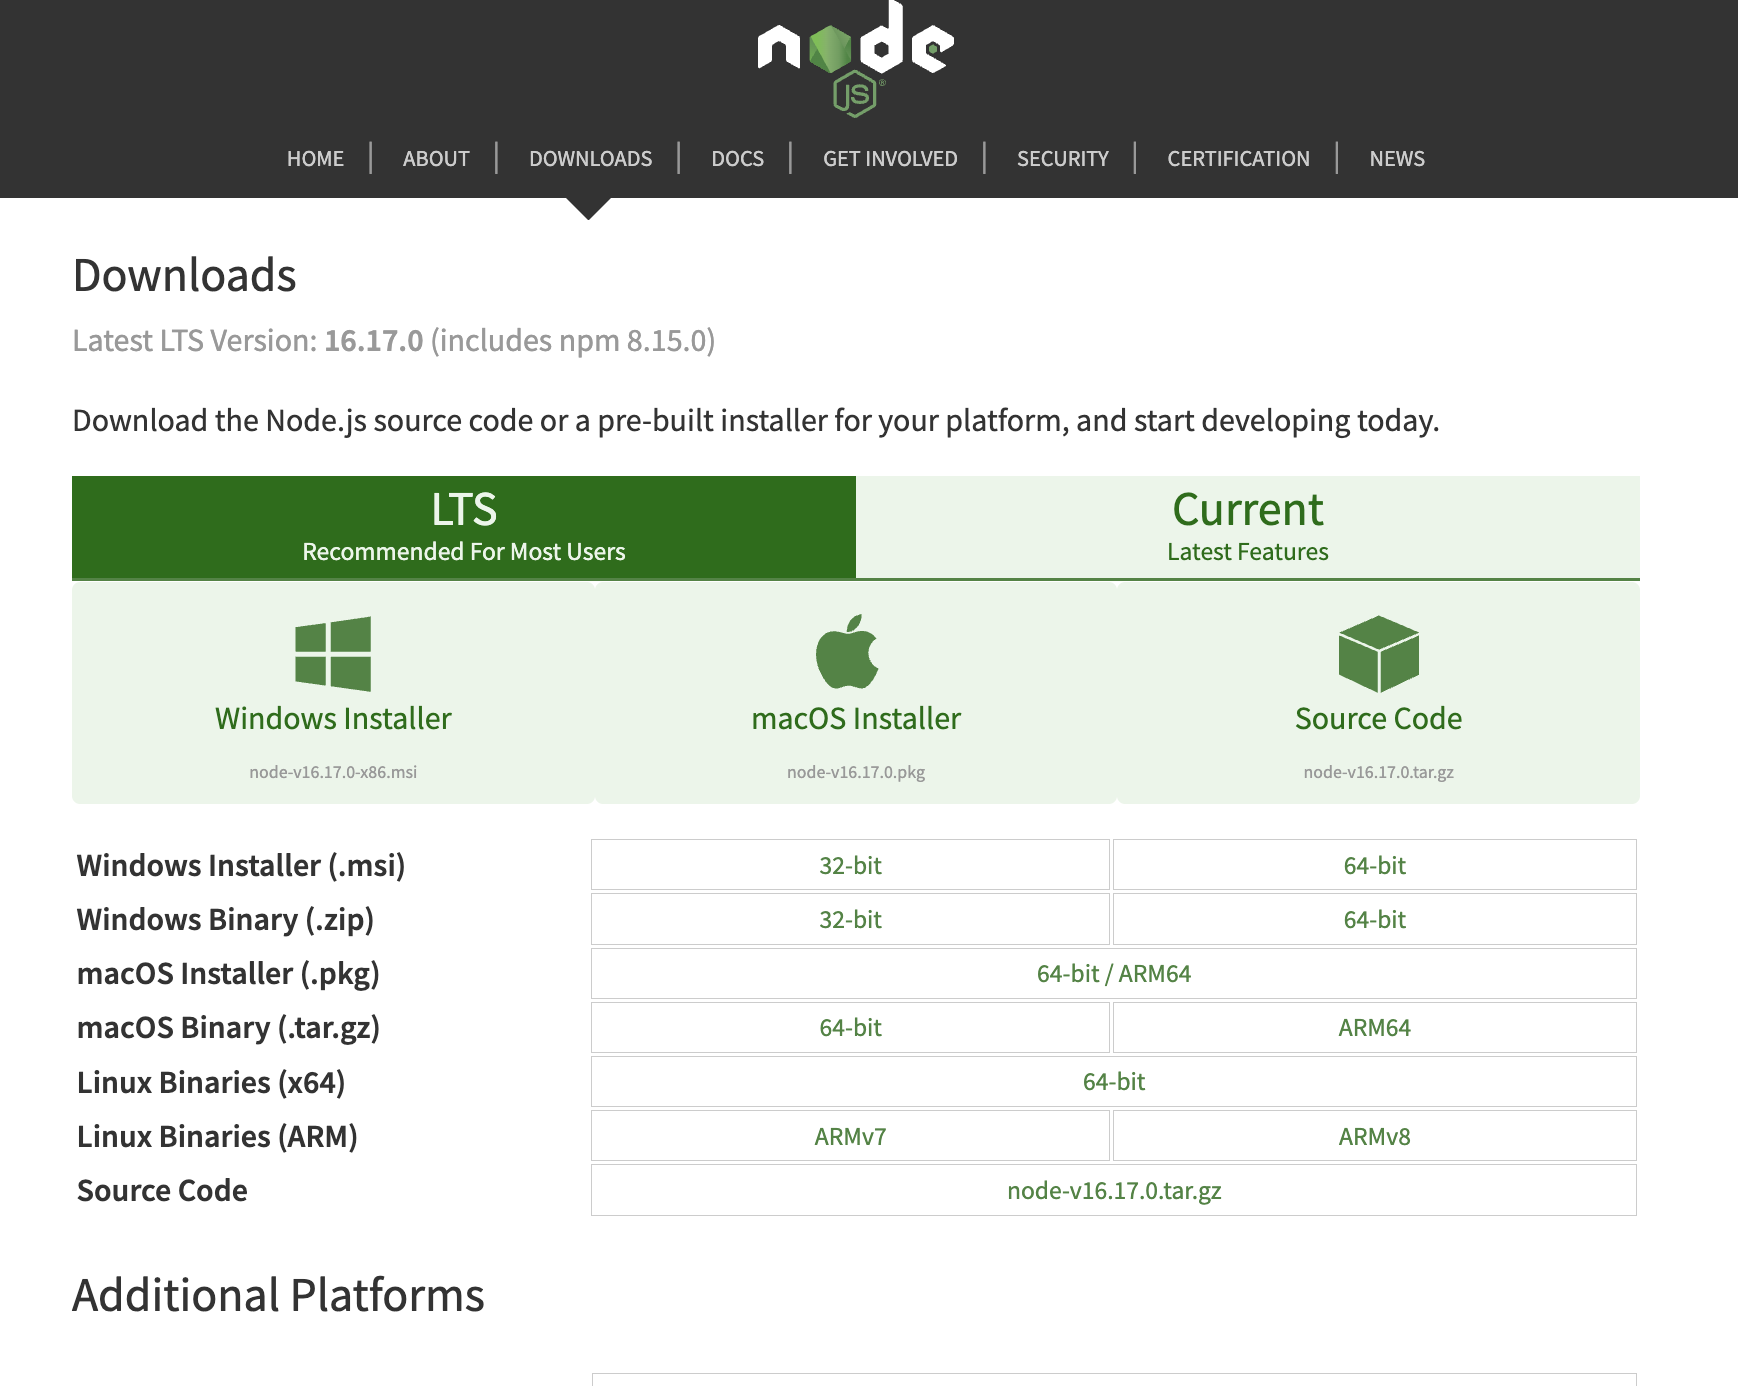
Sources
https://nodejs.org/en/download/
Download | Node.js
Node.js® is a JavaScript runtime built on Chrome's V8 JavaScript engine.
nodejs.org
https://www.tutorialspoint.com/nodejs/nodejs_first_application.htm
Node.js - First Application
Node.js - First Application Before creating an actual "Hello, World!" application using Node.js, let us see the components of a Node.js application. A Node.js application consists of the following three important components − Import required modules −
www.tutorialspoint.com